


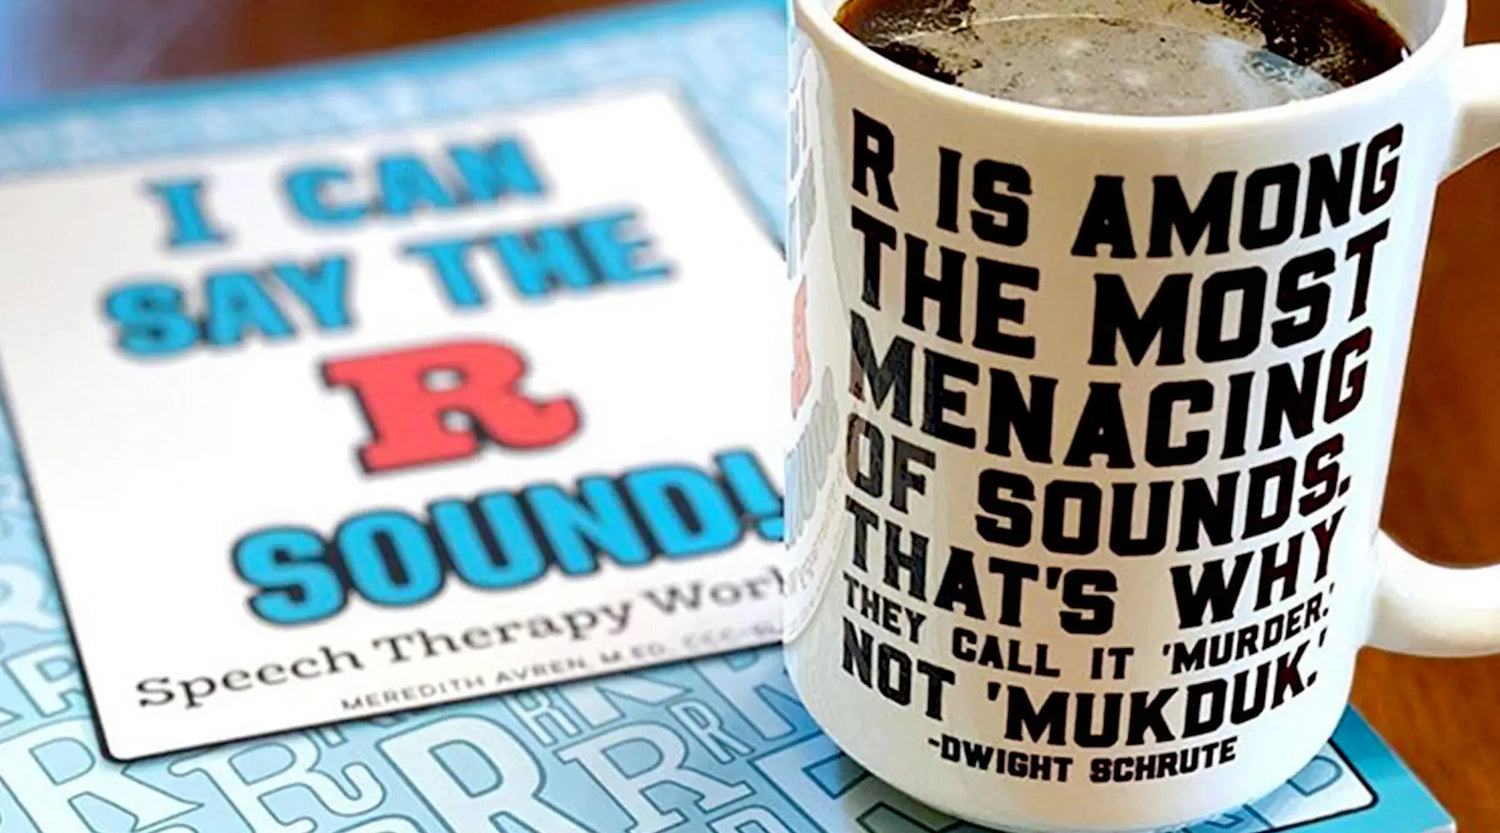
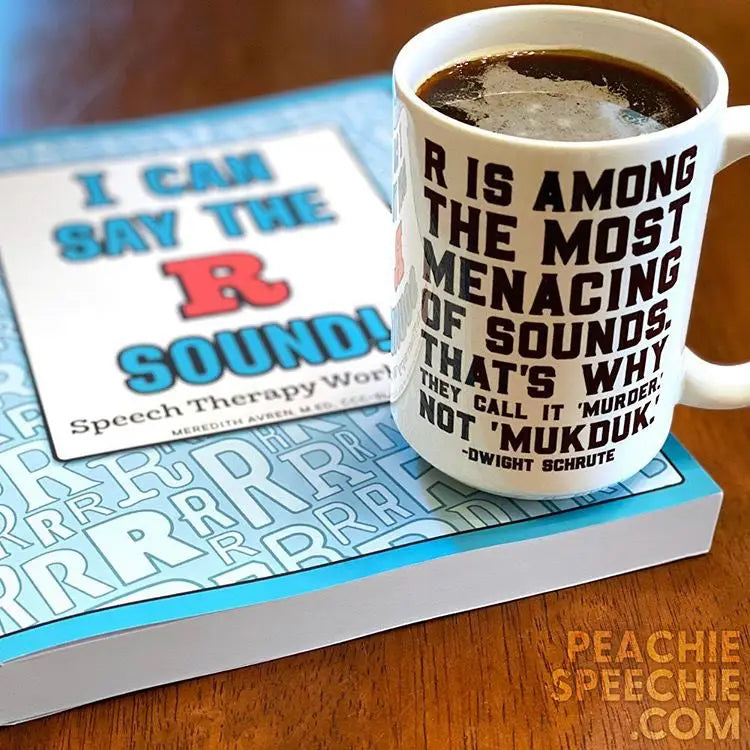
“R is among the most menacing of sounds. That’s why they call it murder, not mukduk”
-Dwight Schrute
Dwight is right. The R sound can be menacing! But trust me, you can learn to love the challenge of treating R errors as much as I do! In this blog post, I’m going to share my general outline for R therapy and some of the resources you can use to make it a successful experience.
First things first: When should you start treating the R sound? Age 5. Yes, I know that is kindergarten. Yes, I know they are very young. Yes, I still believe that this is a good time to start working on the R sound, and research shows that most kids have acquired it by this age (McLeod & Crowe, 2018).
Okay, here we go! You’ve done a thorough evaluation including an oral mechanism exam and you’re ready to start therapy. Here are the steps I take to successfully elicit an R sound. These are just general steps.
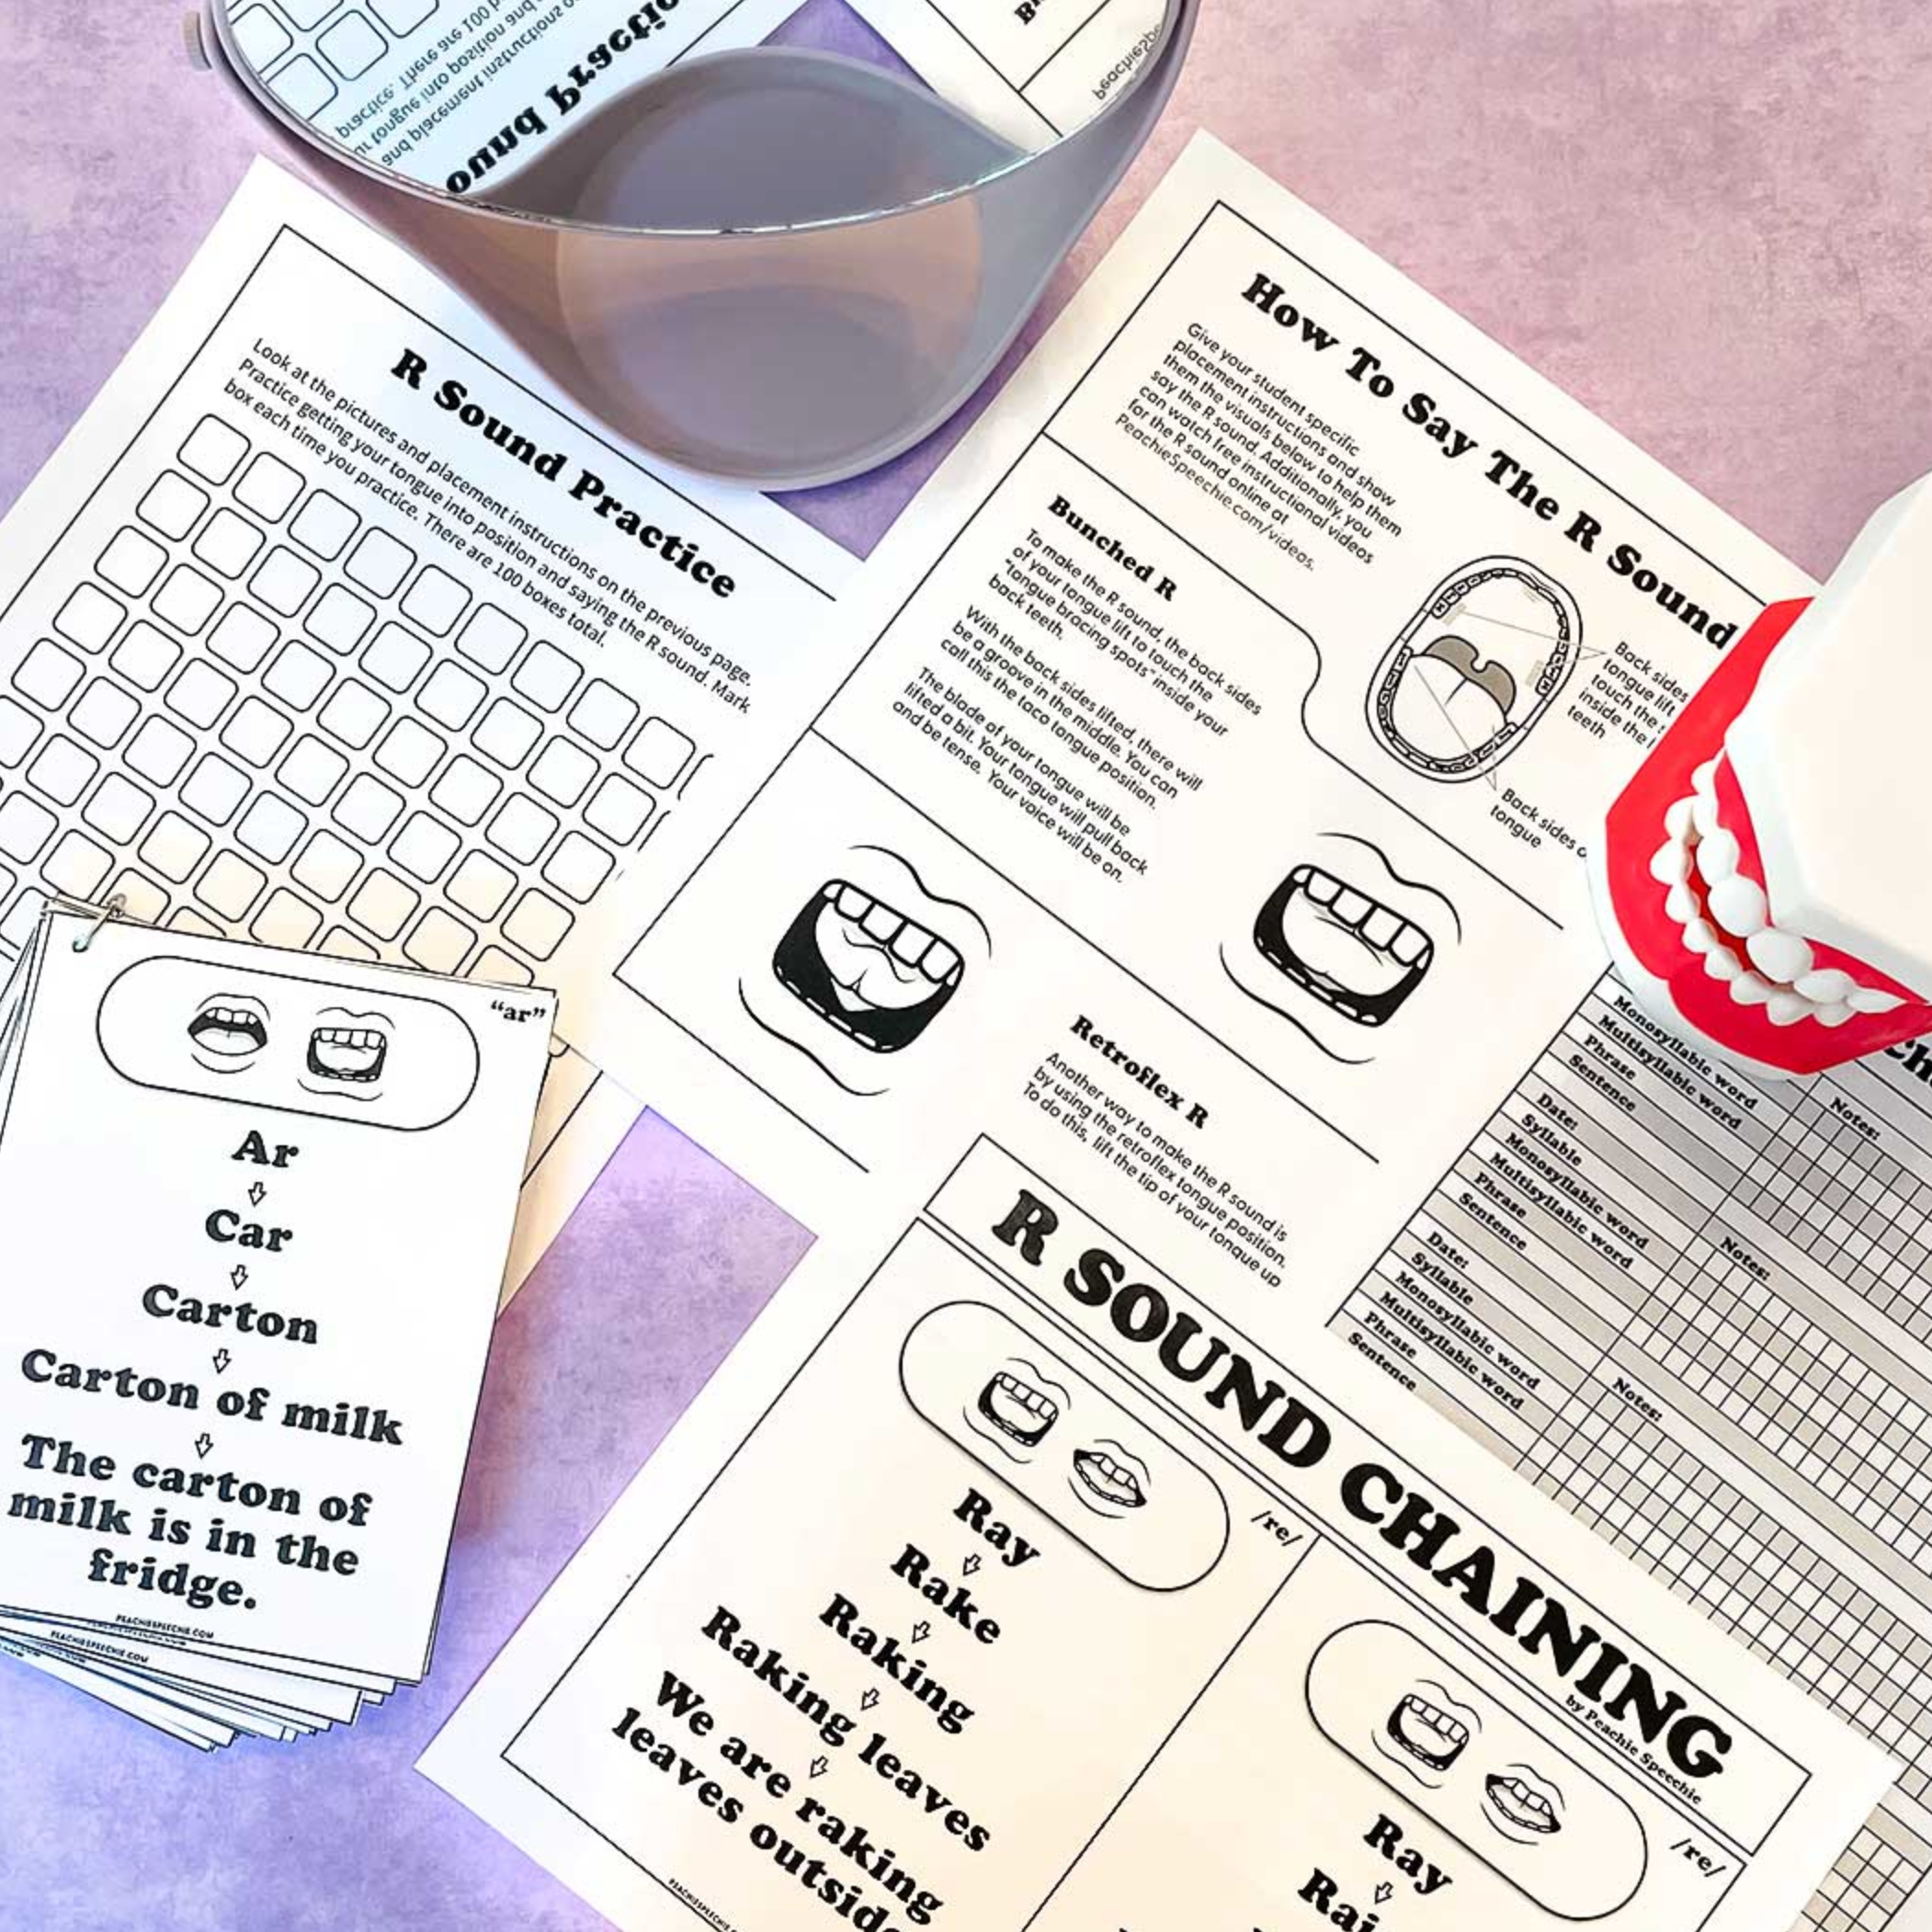
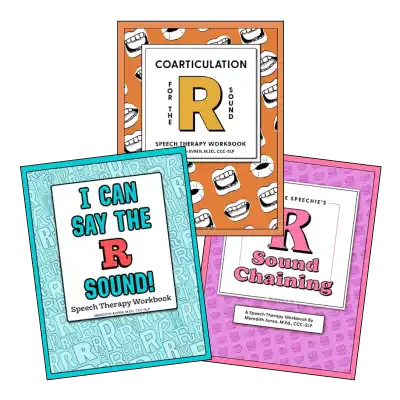
If you want a comprehensive workbook for R therapy, check out I Can Say the R Sound.
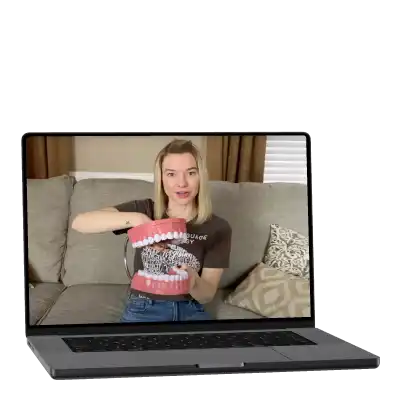
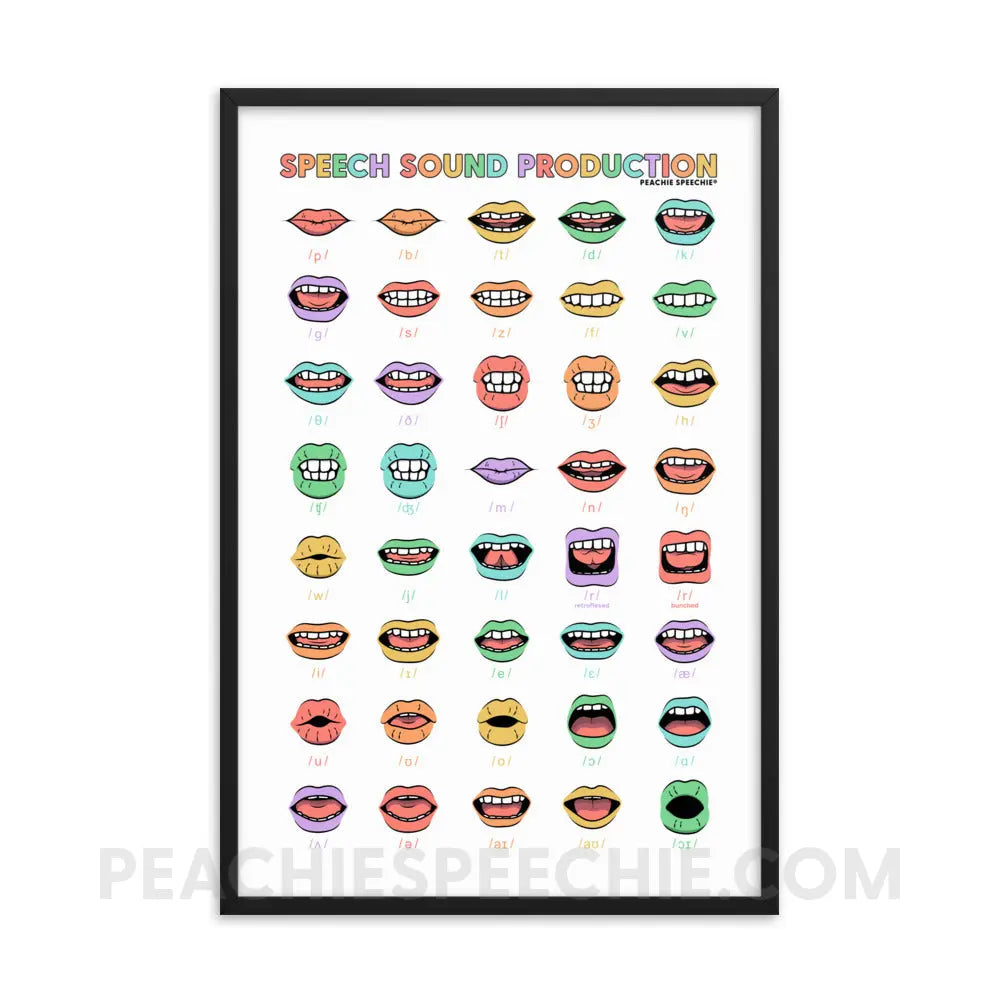
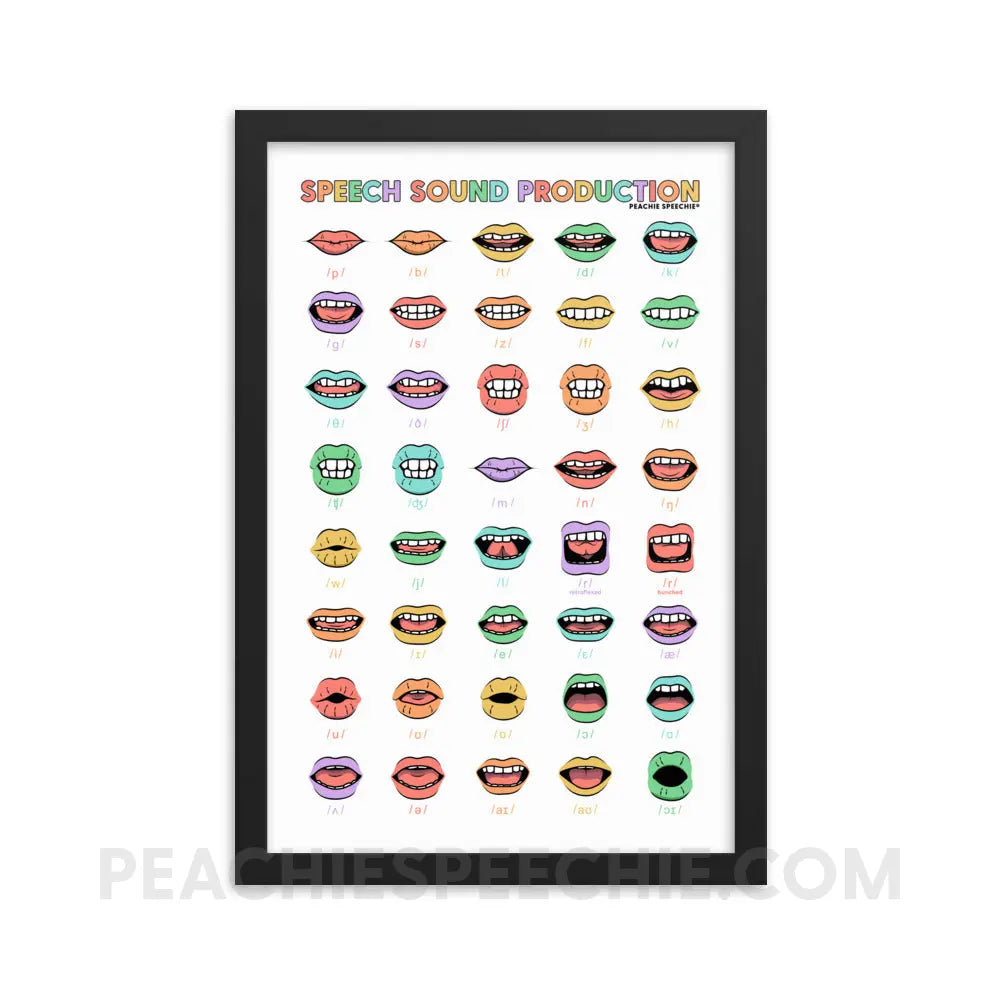
Anatomy Lessons. Don’t skim over this. I usually spend at least two full sessions on anatomy. Teach the parts of the mouth including the teeth, alveolar ridge, soft palate, hard palate, tongue (tip, blade, back and sides), and jaw. Use multiple different visuals.
This is also the time to talk about TENSION! It’s not enough to put your tongue in the right spot. You need it to be tense. I like using flour filled balloons to teach tension. Click to watch my video on how to do that. Other ways to illustrate tension are by pulling a rubber band, grabbing the seat of your chair while sitting and pulling up on it, or squeezing a squishy toy while you practice.
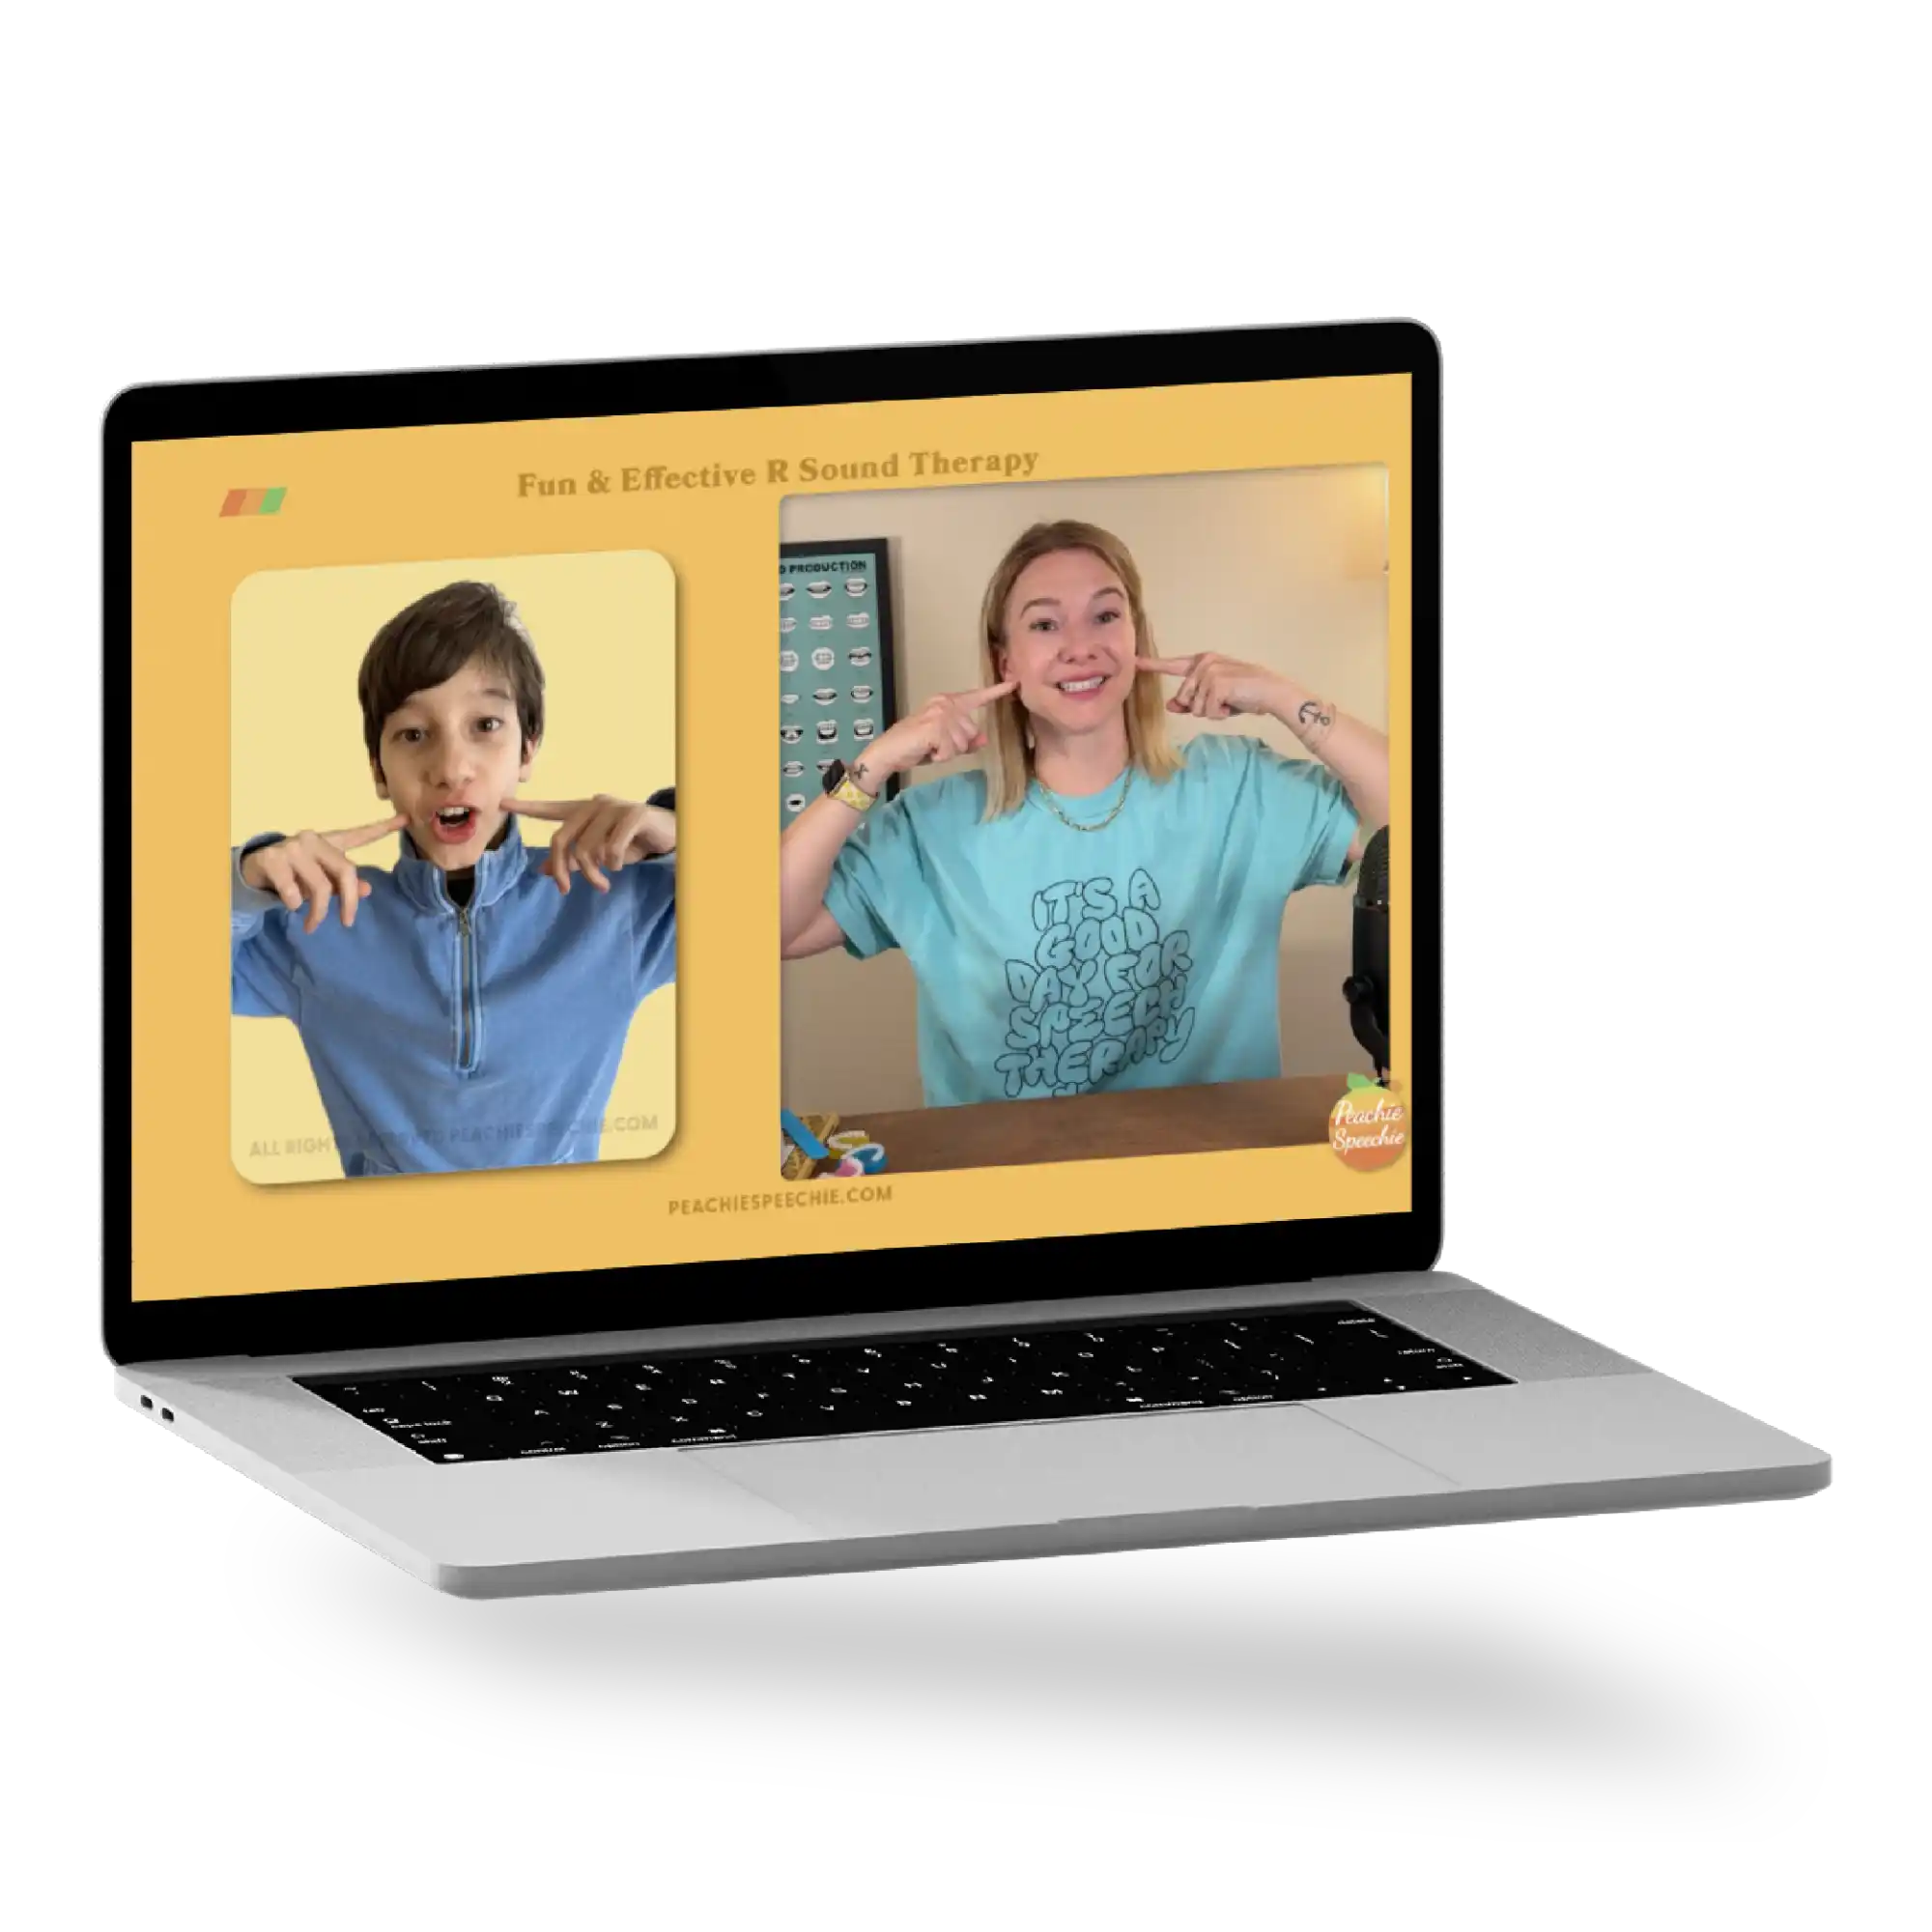
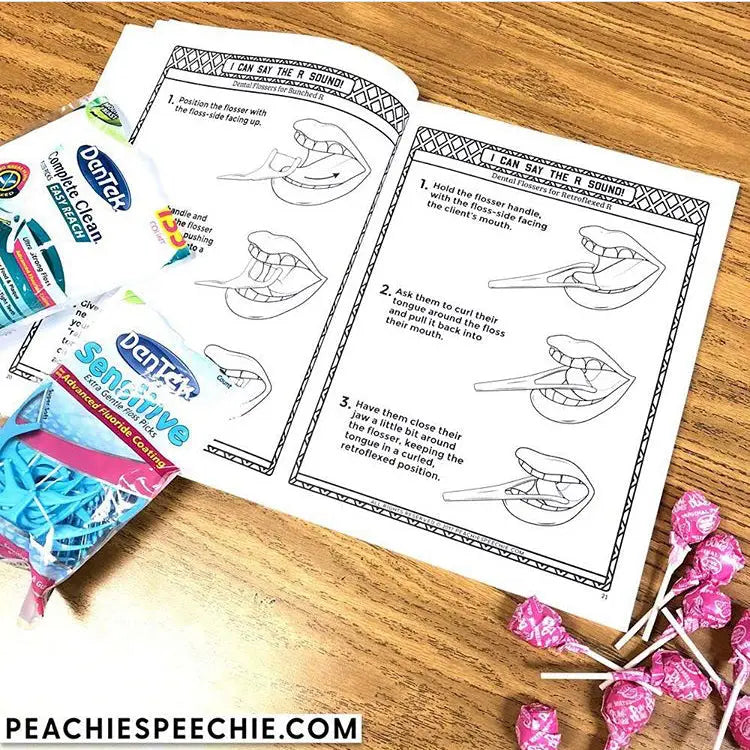
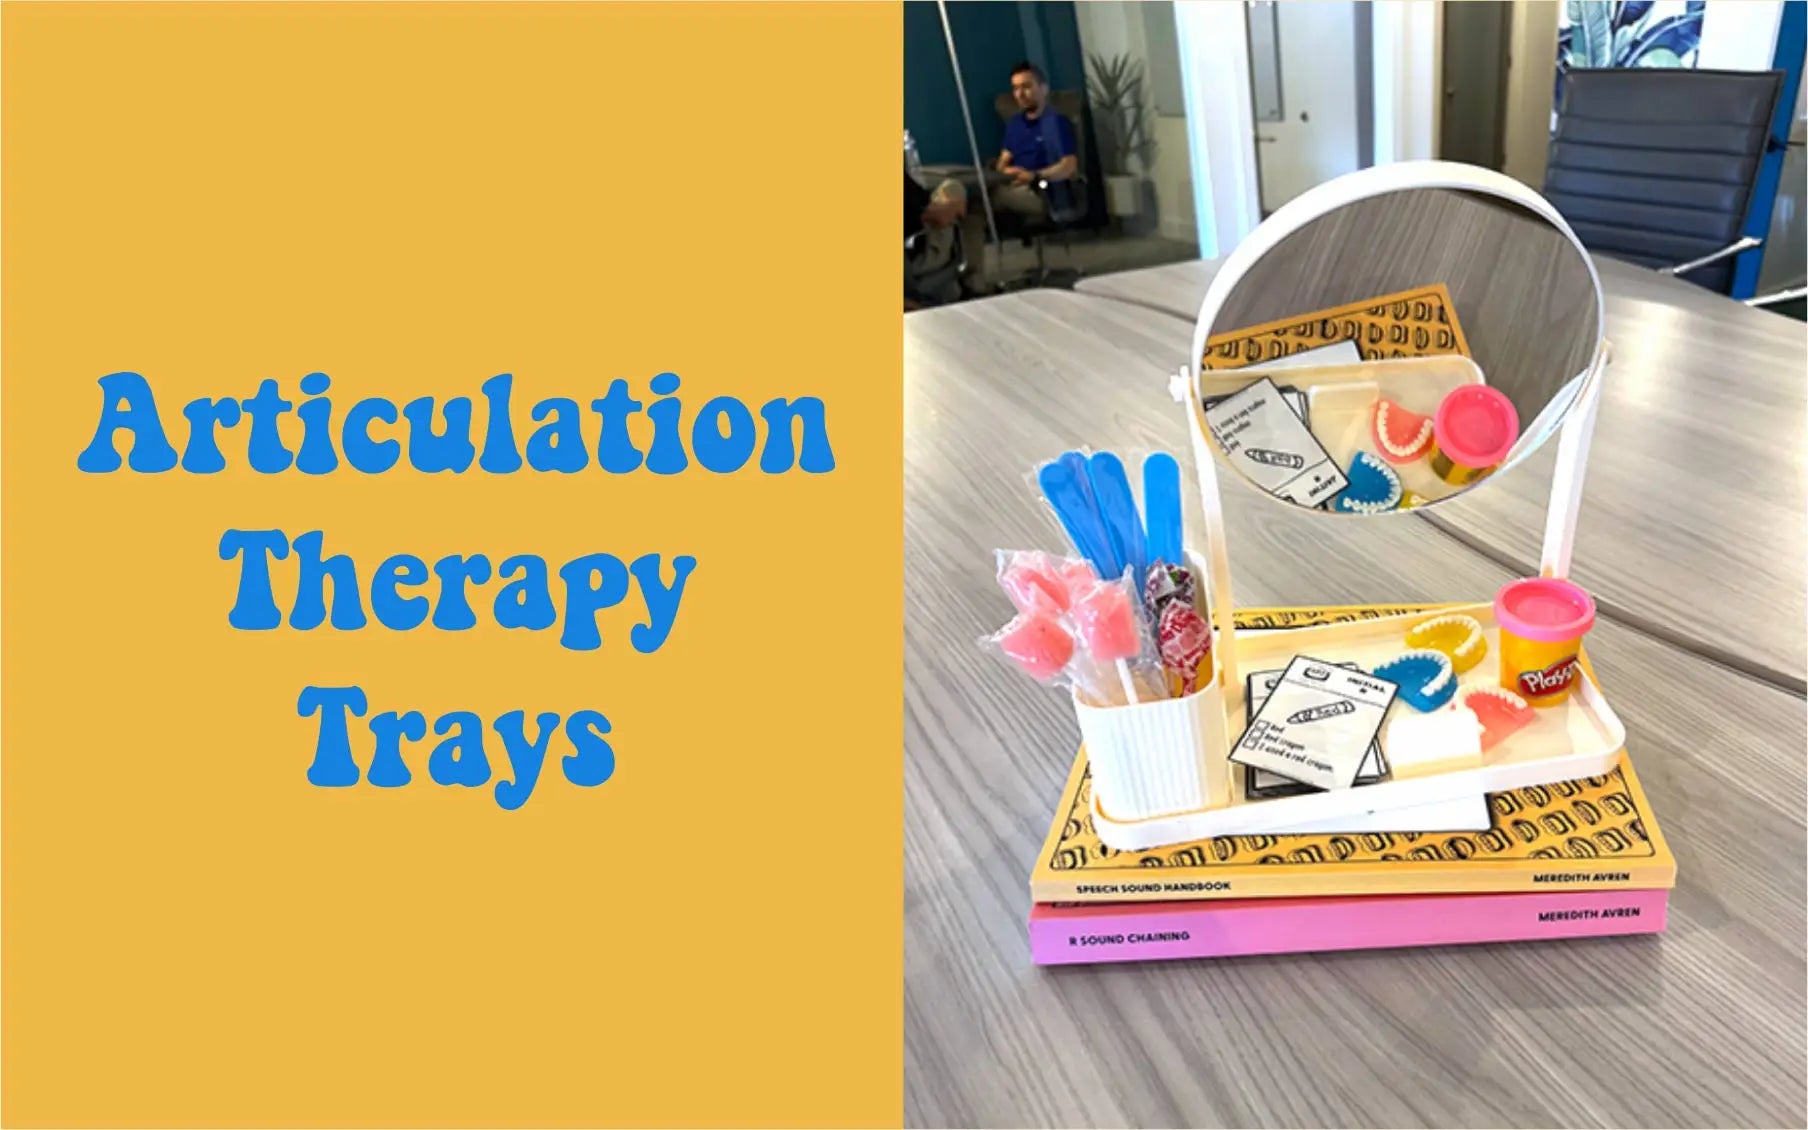
Elicitation. Now that your student knows their anatomy and knows how the tongue needs to move, it’s time to start working on eliciting that R! If verbal placement instructions with modeling and prompting isn’t cutting it, don’t worry. There are a ton of tricks to elicit the R. This is honestly my favorite part of the process. Working to get that first clear, crisp, perfect R sound. You can use tools such as dental flossers, lollipops, or tongue depressors to provide added support. You can shape from other sounds. You can use tactile cues. Detailed explanations and instructions for all of these elicitation techniques are found in my workbook, I Can Say the R Sound.
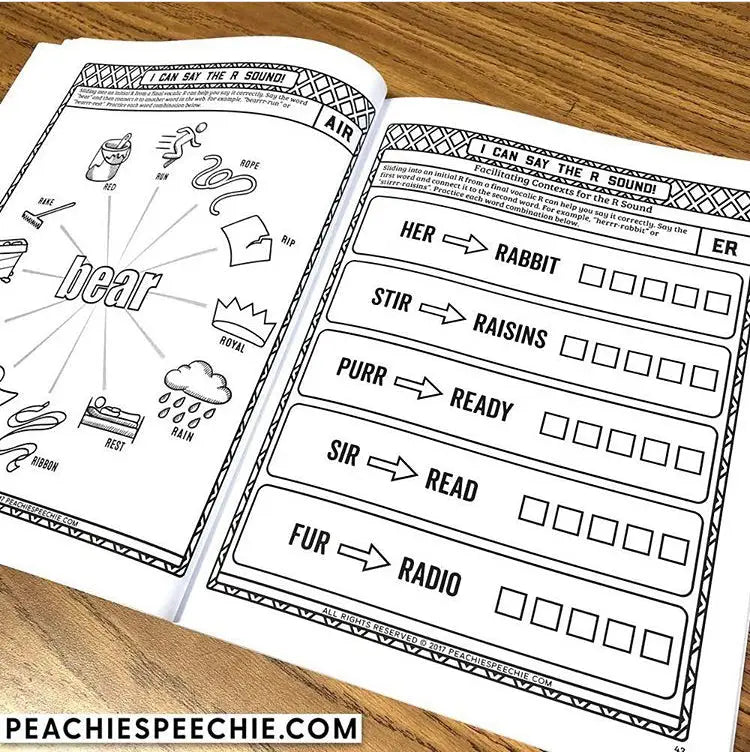
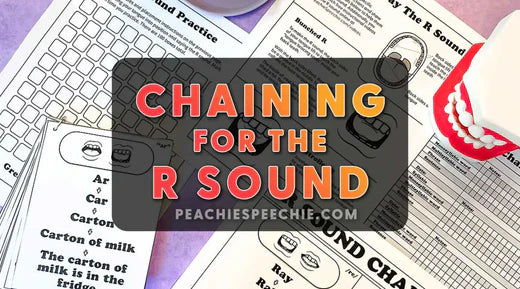
Drill Drill Drill. Once you elicit an R, start drilling! Maybe there is one word or context that they can get a clear R in. Go with it! Practice it over and over and then use their accurate productions to help them get in other contexts. For example, if they have a pretty good initial R, use coarticulation to help them achieve a clear final vocalic R!
Moving on. Once you move from words to phrases to sentences it is time to focus on carryover skills! Oral reading, oral presentations, and connected speech activities that also address language skills such as comparing and contrasting, describing, and creative writing/drawing are my favorite things to do for carryover practice.
If you have a student who has been working on the R sound for some time with little success, try getting back to basics. Review anatomy again, focus on tongue movement and tension. Perhaps they aren’t ready for drilling yet.
The R can be a menacing sound, but you can do this! You are an amazing, skilled SLP and I believe in you! Be sure to check out my videos and workbook. I hope they make the challenge of teaching R a little easier for you.
❤︎ Meredith
If you're interested in a printed version of I Can Say the R Sound, you can purchase it on Amazon here.
One more thing! You can use the code DWIGHT to get 10% off the mug pictured at the beginning of this post.
Thanks for reading the Peachie Speechie blog! Subscribe to our newsletter at the bottom of the page so we can keep in touch. 💌


