


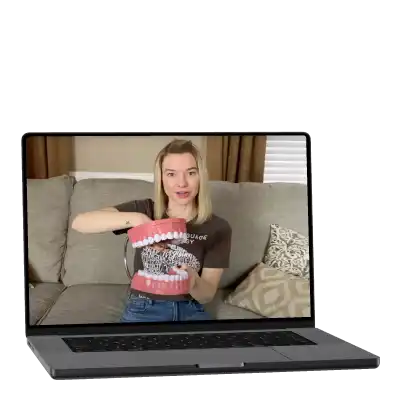

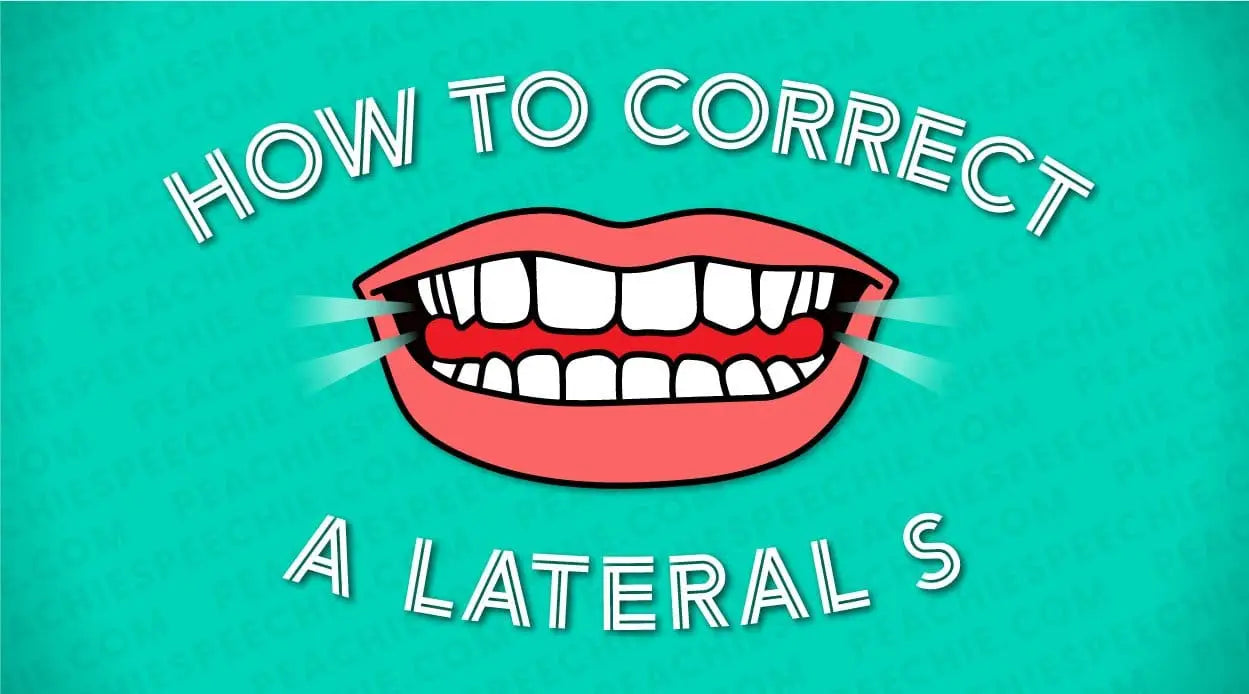
A lateral S (also called a lateral lisp) is easily recognized due to its slushy, wet sound. If you’re not sure what a lateral S sounds like, check out this video of Sid the Sloth from the movie Ice Age. Sid has a classic lateral S. Some people lateralize other sounds such as Z, CH, SH, and J. This post focuses on the lateral S.
So what causes this? And how do you correct it?
Well, let’s start by looking at what happens in the mouth when you produce an accurate S sound and compare that to what happens when you produce a lateral S.
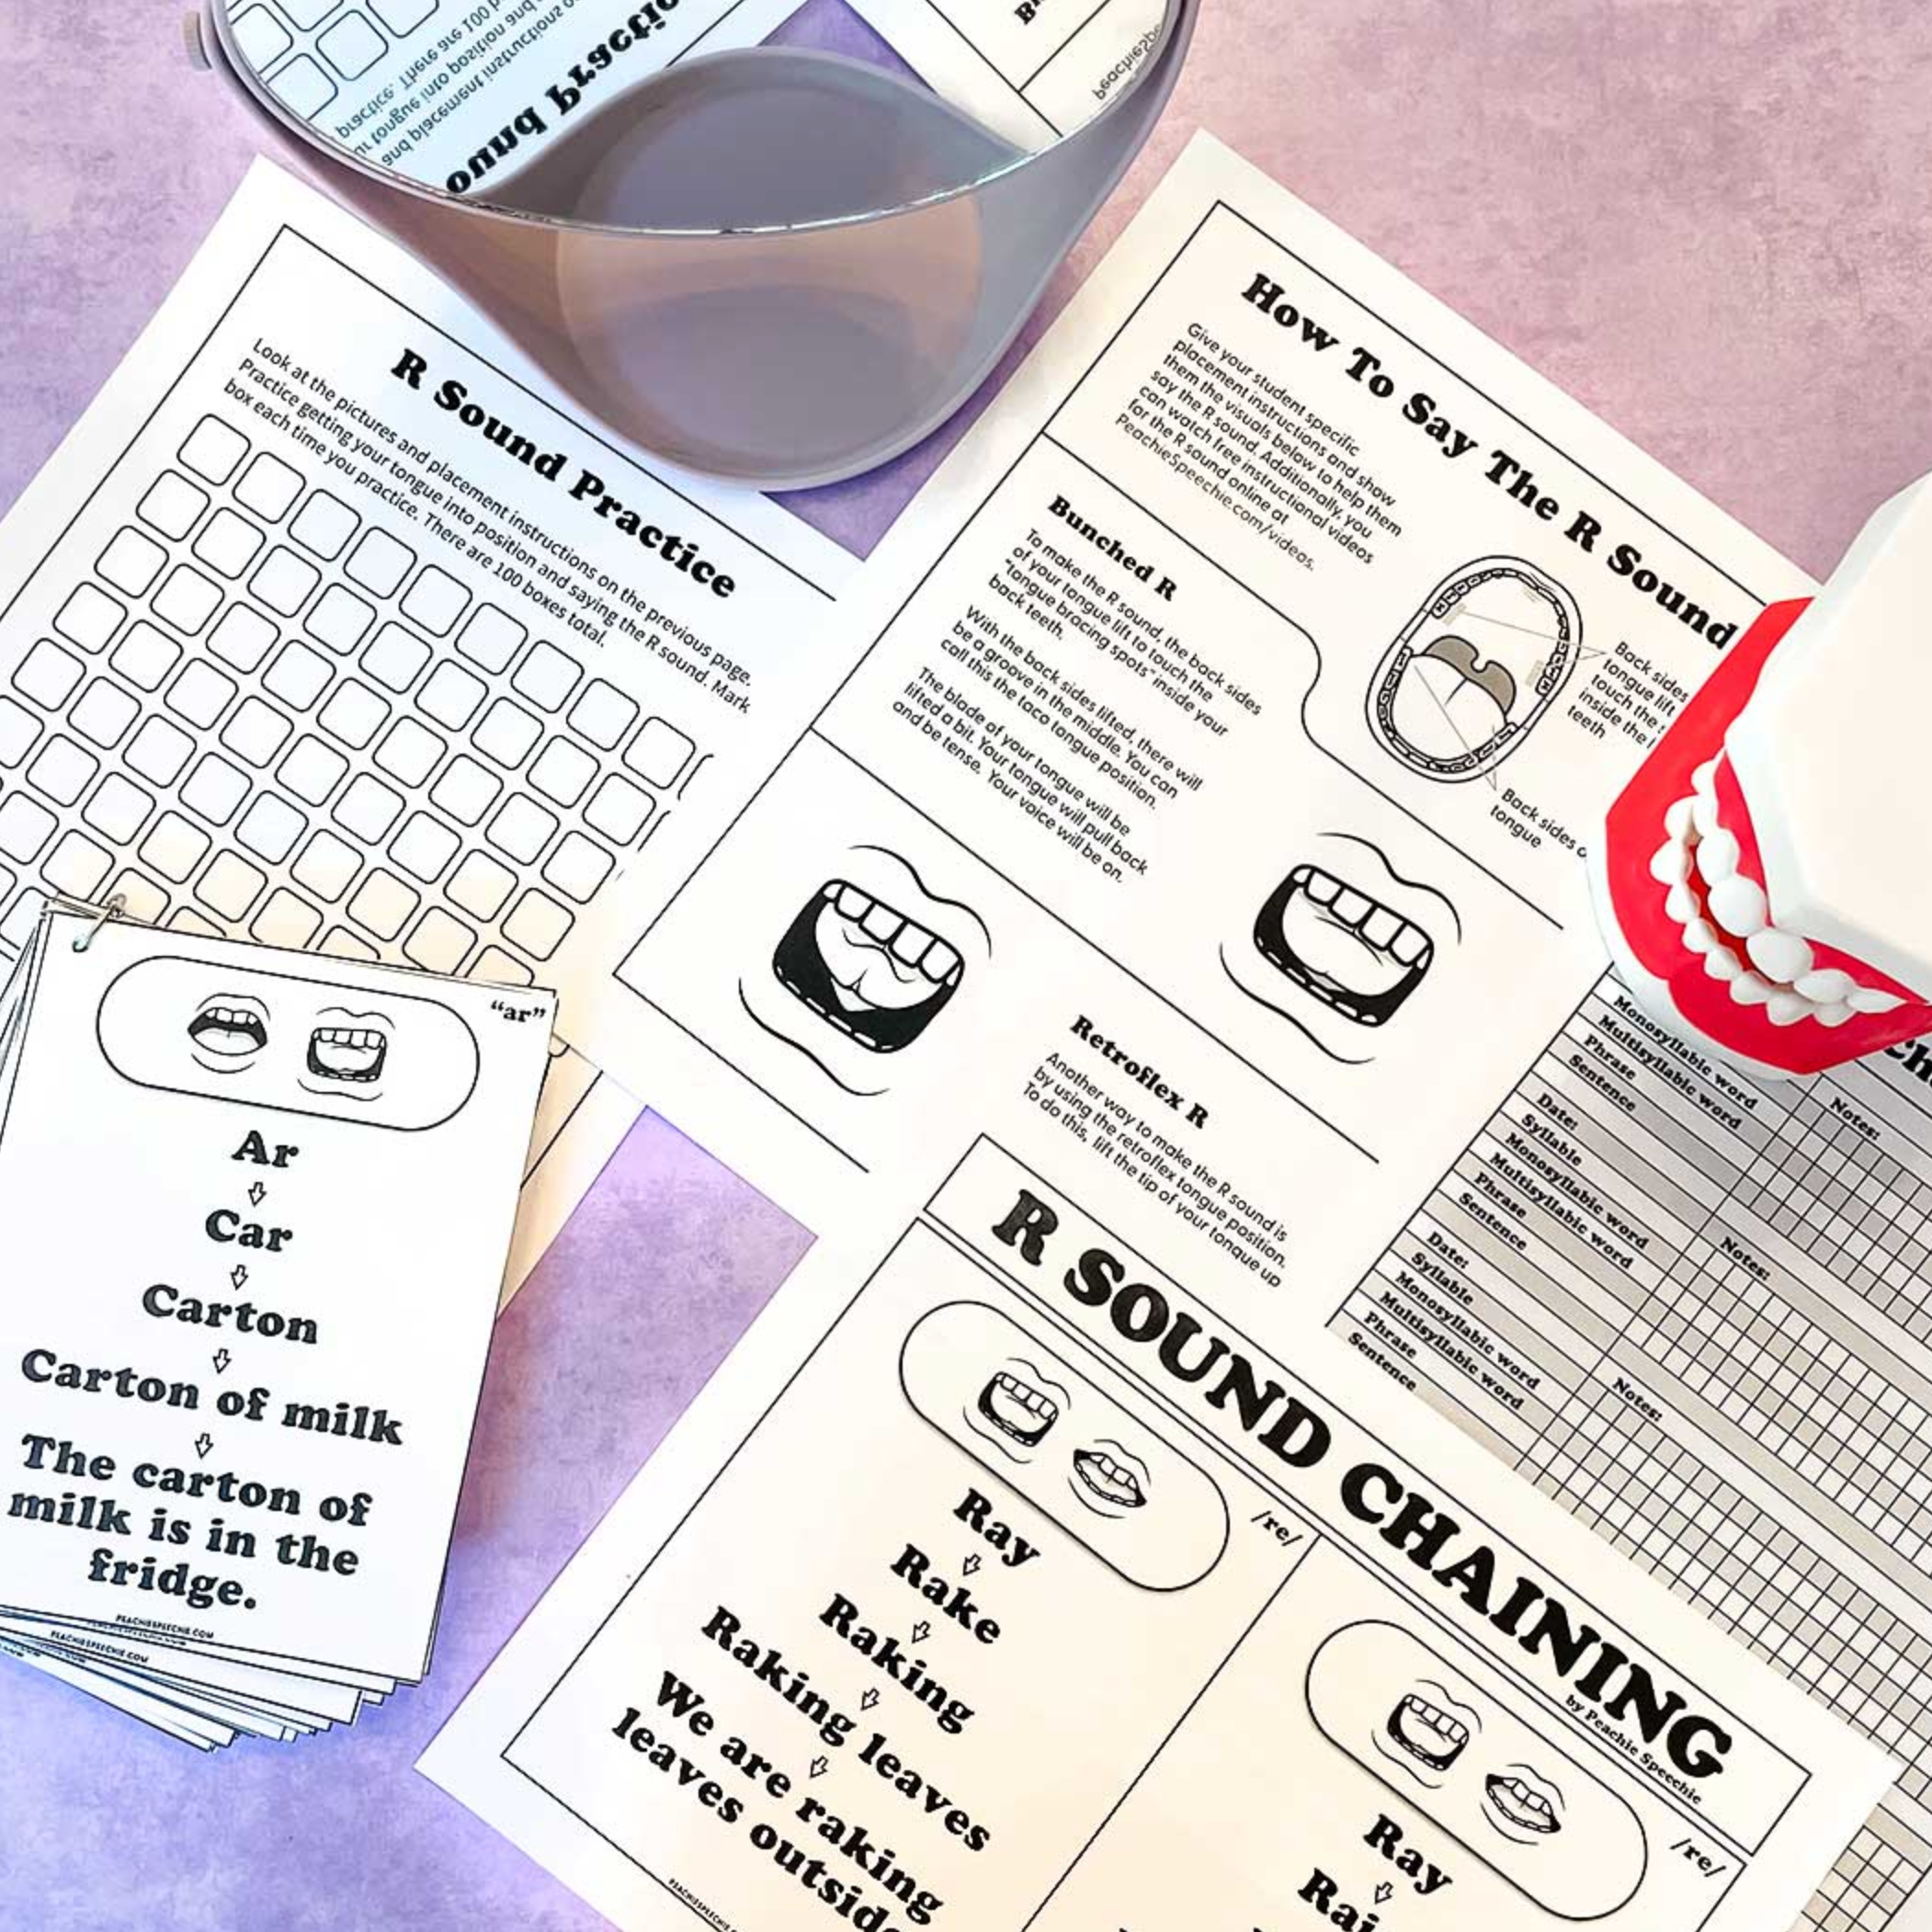
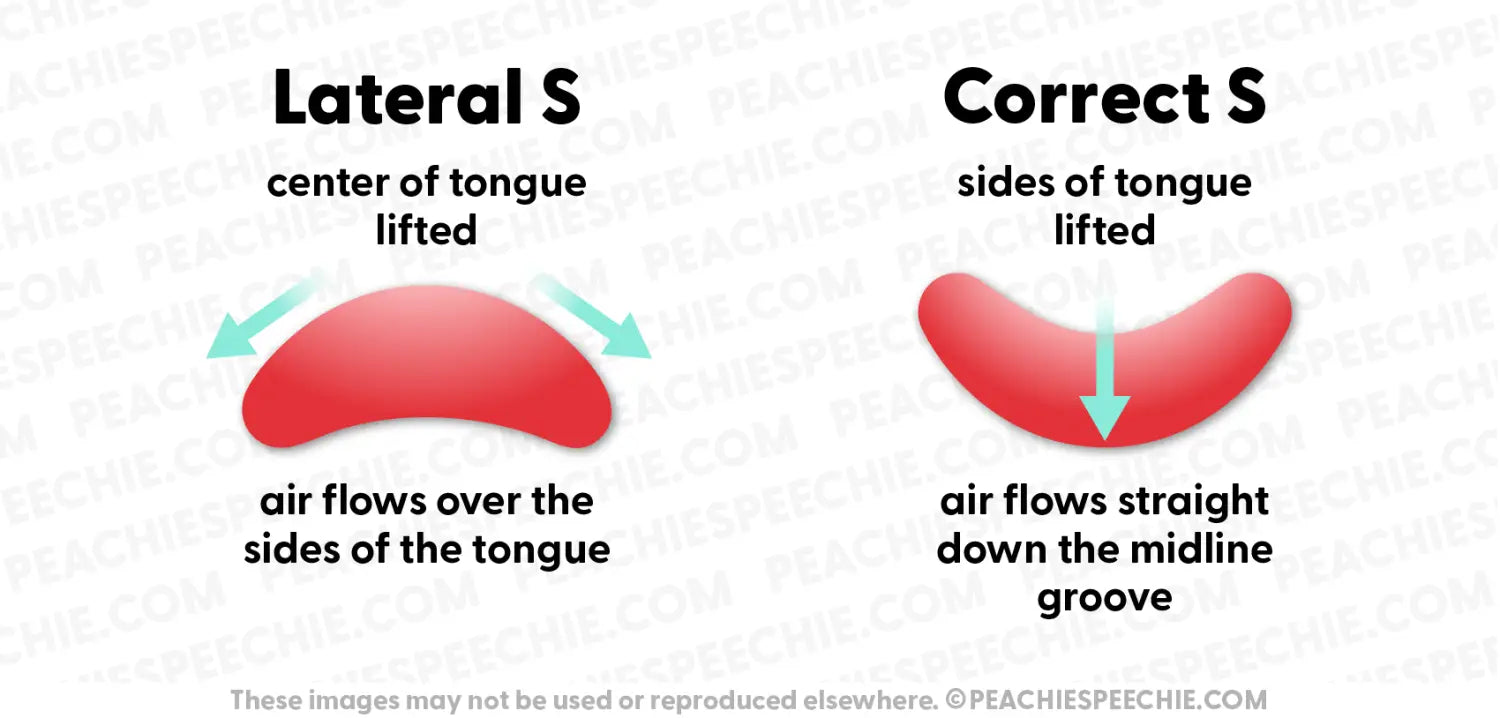
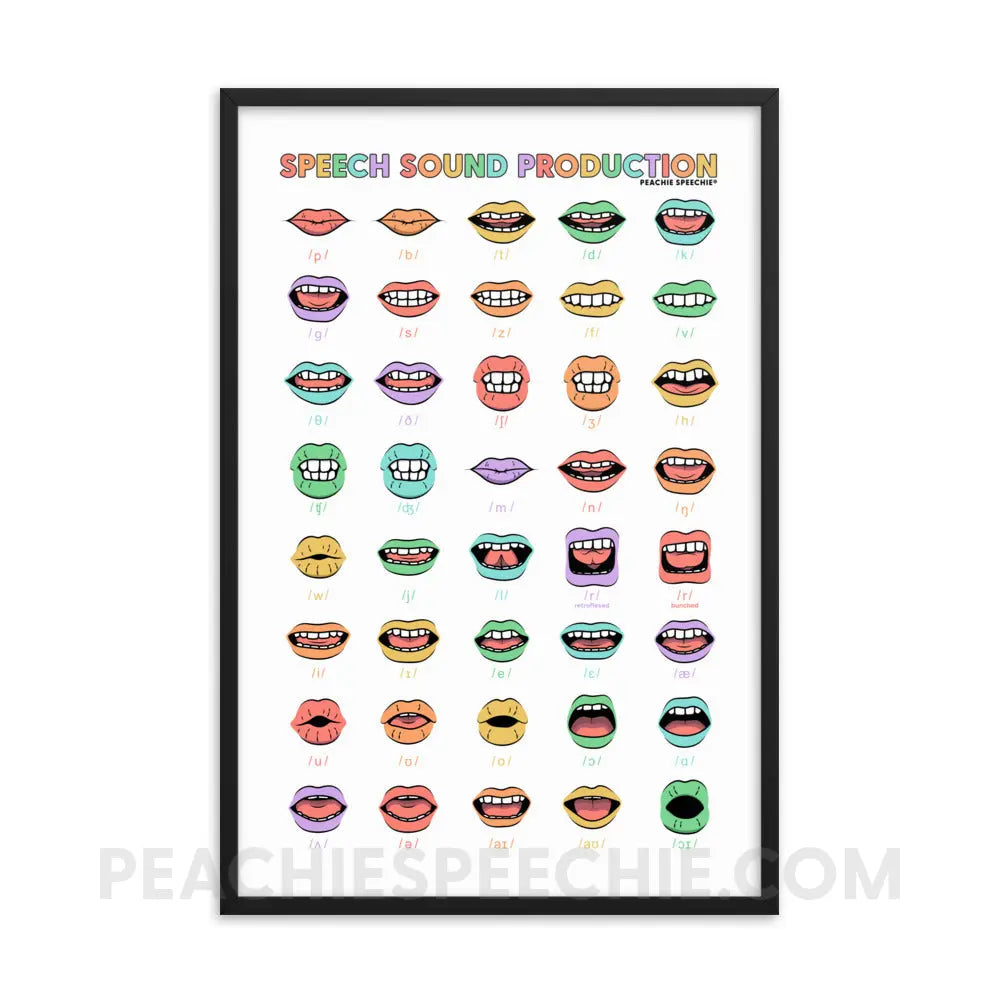
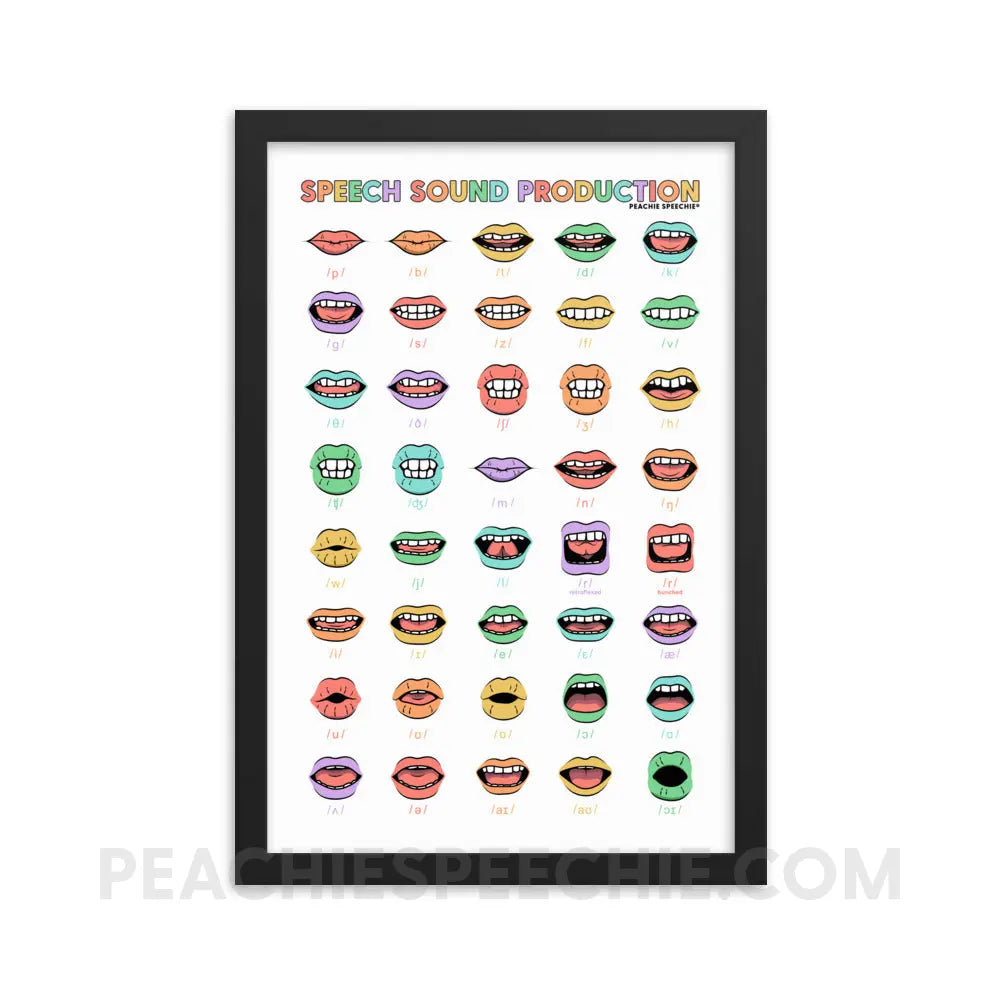
When you say an accurate S, the blade of your tongue lifts so it almost touches the alveolar ridge. The lateral margins (sides) of your tongue lift up to gently touch the insides of your teeth. A groove runs down the center of your tongue and air flows down that midline groove, straight out of your mouth. Air can’t escape out the sides of your mouth because the sides of your tongue are up. This creates a clear S sound.
A lateral S is produced differently. The middle of the tongue is elevated and the sides of the tongue are lowered for production of a lateral S. This allows air to escape over the sides of your tongue, toward your cheeks. This lateral airflow is often described as sounding slushy, mushy, wet, or spitty.
Some people also have jaw sliding in addition to incorrect tongue placement and airflow direction. When their jaw moves to the side, air escapes out the side, resulting in lateral production.
To correct a lateral S, I teach proper tongue placement and airflow. If jaw sliding is present, I use a bite block to help with jaw stabilization.
My favorite method for teaching tongue placement and airflow is the Stretchy T Method. This is basically shaping the T sound into an accurate S sound.
Stretchy T Method
- Say the T sound several times in a row (T-T-T-T). Notice how the sides of your tongue are lifted when you say your T sound.
- Say the T sound again, but this time release a little more air than usual. This stretches out the T sound and turns it into the S sound (TSSSSSS). To make it easier, start with saying the T a few times and then stretching out the last one (T-T-T-TSSSSS).
- Once you can stretch out your T sound, practice words that end in TS such as cats, bats, hats. Stretch out your T at the end of each word to make a clear S sound.
Why does the Stretchy T Method work?
This method works because it gets the tongue into the correct position and directs airflow down the midline groove in the tongue instead of over the sides and into the cheeks. In order to have success with this method, your student will need to be able to produce a clear and accurate T sound. If they don’t have that sound in their repertoire, work on it first. I’ve got a video to help you teach the T sound here.
Bite Block for Jaw Stabilization
If your student has jaw sliding, you can place a bite block between their molars to help them stabilize their jaw during practice.
- Put the bite block in place.
- Instruct them to say their S sound (or call it the Stretchy T Sound).
- After several successful trials with the bite block, remove it and try without that level of support.
General Tips for Treatment of Lateral S
- Establish an accurate T sound prior to starting therapy for lateral S.
- Spend time teaching speech anatomy including alveolar ridge and insides of the back teeth at the beginning of therapy.
- Talk about airflow and give examples of forward airflow. Use visual cues. I often motion with my finger, pulling it from my lips straight out as pictured below.
- When you start to teach the sound, don’t call it the “S sound”. Call it a “new sound” or “Stretchy T sound”.
- Use a mirror during sessions and visuals. Lots of visuals!
- Be patient and remember: Practice makes progress.
Helpful Resources
- I’ve got a FREE Lateral S Toolkit, which is a great starting point for correcting the lateral S. It has visuals and target words to help boost your confidence when doing therapy.
- I’ve also got a FREE S Sound VIDEO that you can watch with your students. It’s an easy explanation on how to produce the S sound.
- If you need an entire book about the S sound, check out the workbook titled I Can Say the S Sound! This workbook is filled with visuals, tips, and practice pages.
Be sure to check out my huge collection of Speech Therapy Videos on YouTube! Tons of child-friendly explanations for different sounds and tips for SLPs, too!
Follow me on Instagram @ThePeachieSpeechie for daily speech therapy posts.
❤︎ Meredith
Thanks for reading the Peachie Speechie blog! Subscribe to our newsletter at the bottom of the page so we can keep in touch. 💌


