Play Dough Tongues for Teaching the R Sound
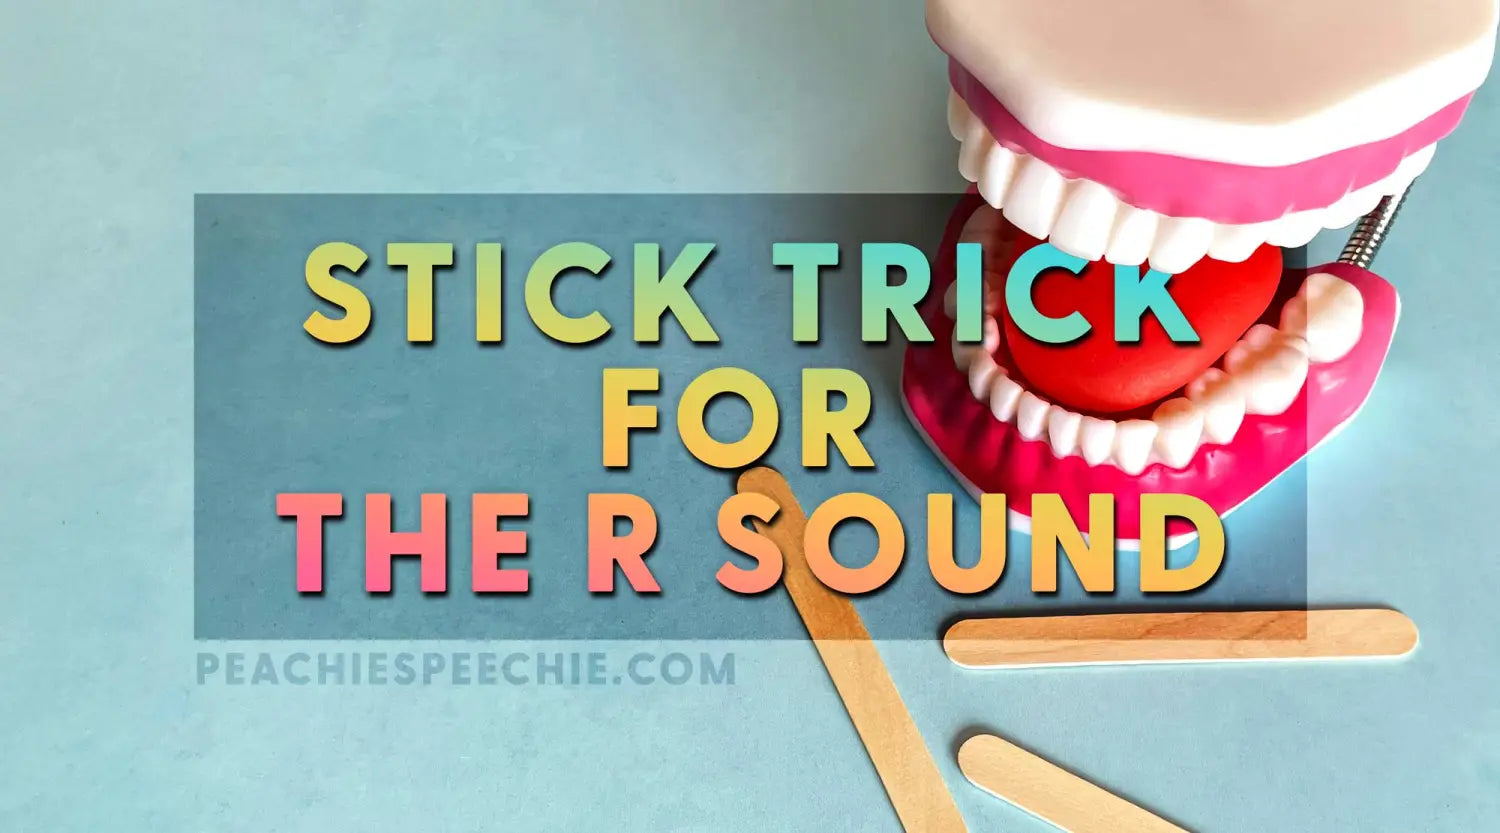
The R sound can be challenging to correct, but visuals help! And play dough tongues are some of the best visuals I’ve used.
What makes play dough tongues helpful?
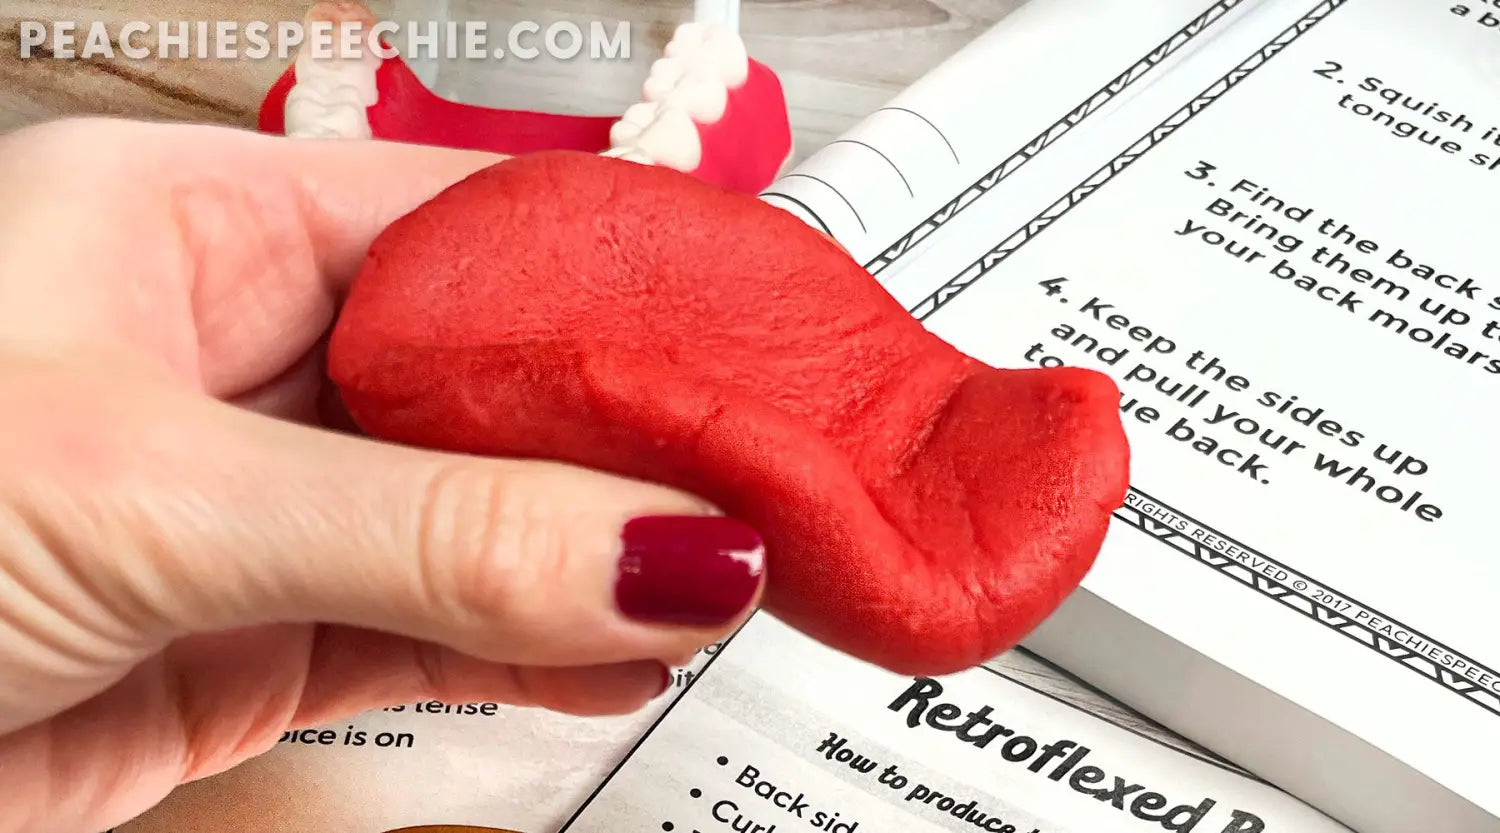
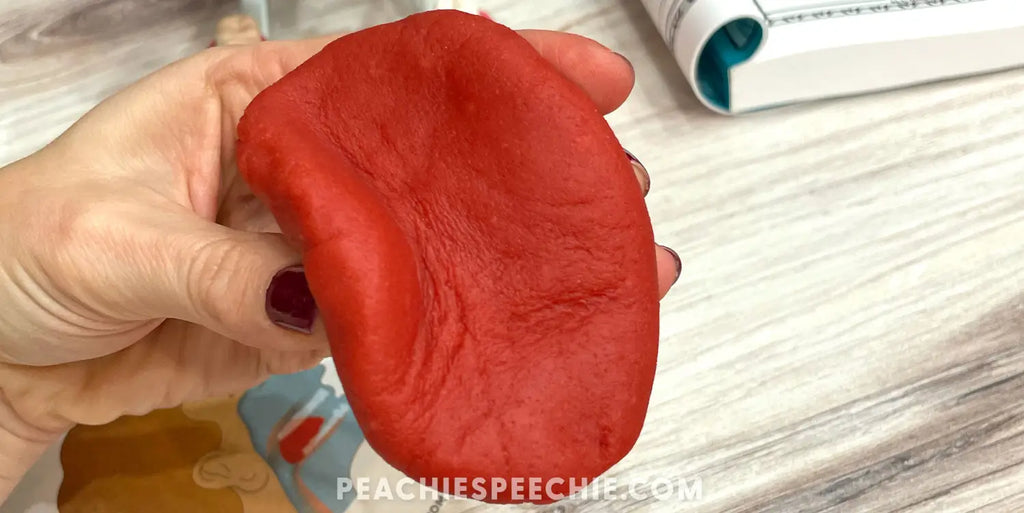
One of the reasons the R sound is tricky is because it is hard to see what your tongue is doing in your mouth when you produce it. If a child can see the tongue shape and feel it with their hands, it can help them understand what I’m telling them to do with their own tongue.
How do I use play dough tongues to teach my students the R sound?
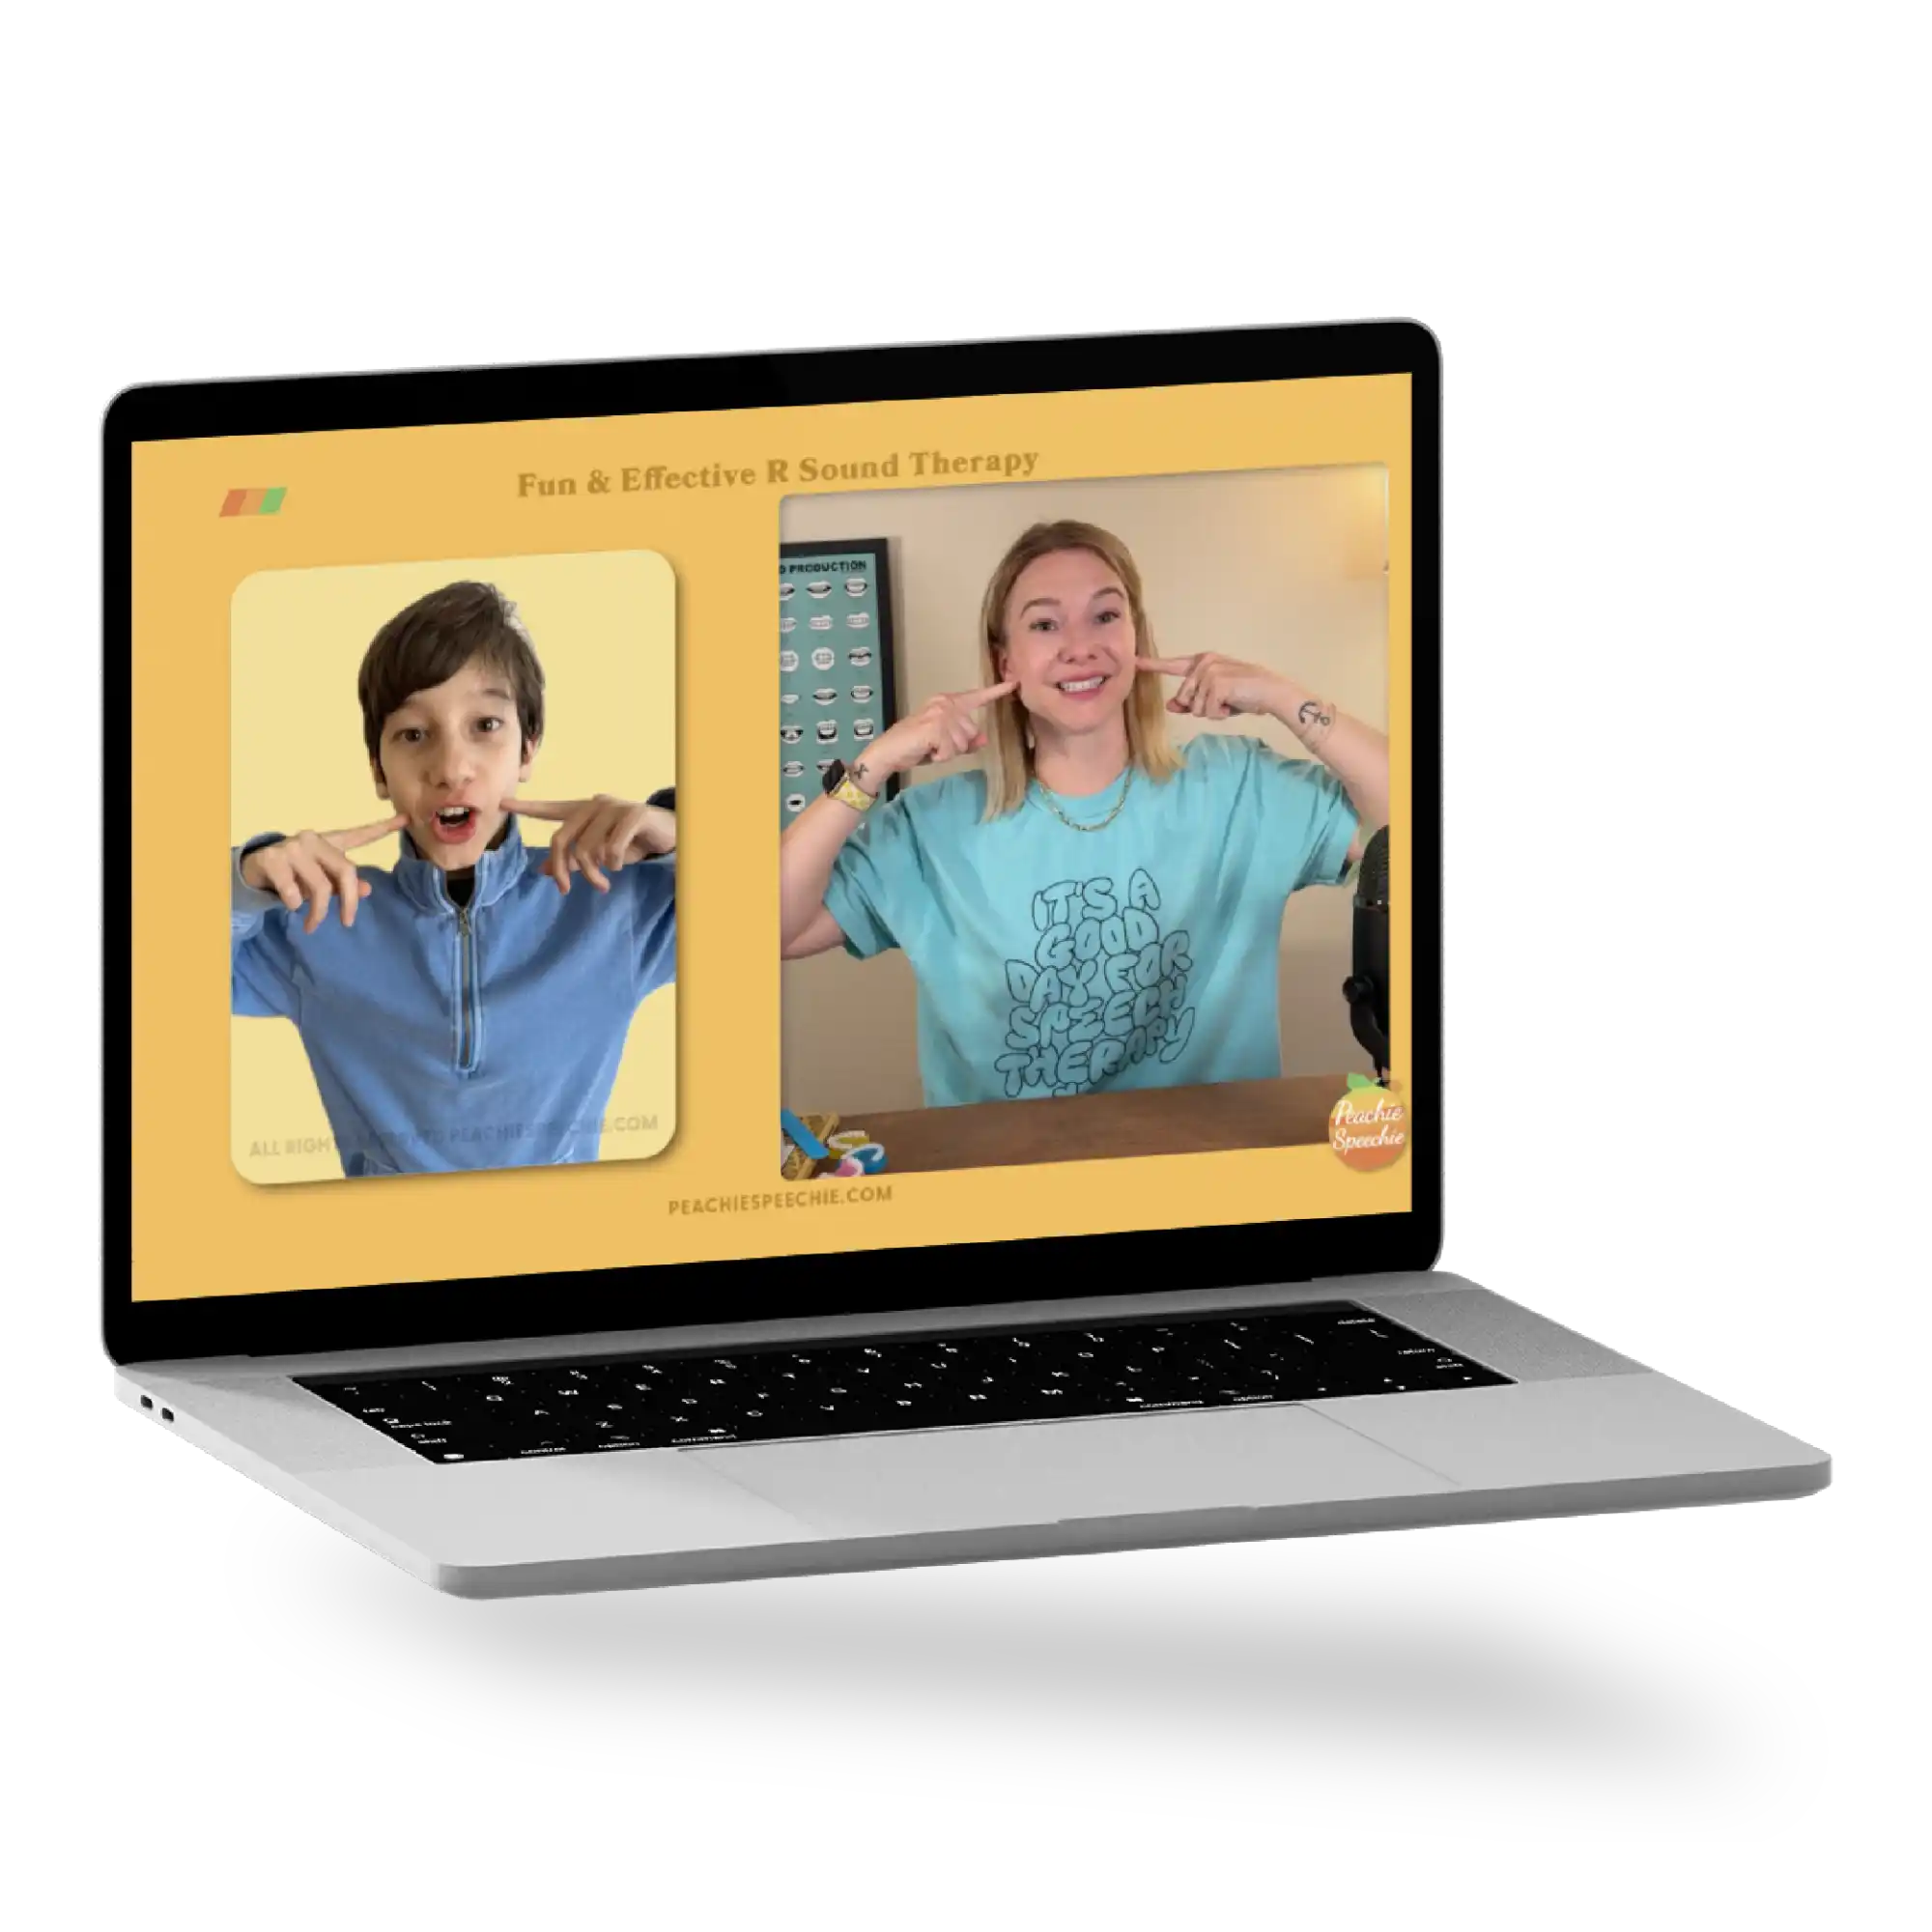
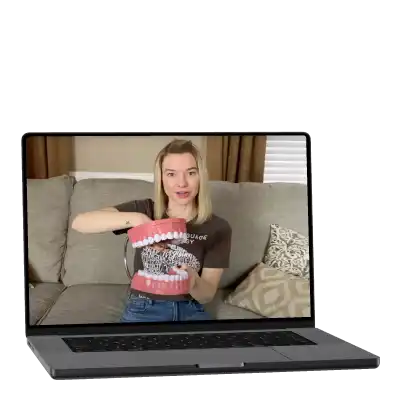
First, you will want to teach them the two main tongue shapes for production of the R sound: Bunched and Retroflex. You can play this video to show them the difference between the two shapes.
Next, you can give them some dough and make tongues together! I recommend watching this step-by-step video on how to make a realistic bunched or retroflex shape out of the dough. You can have your student follow along with the directions in the video.
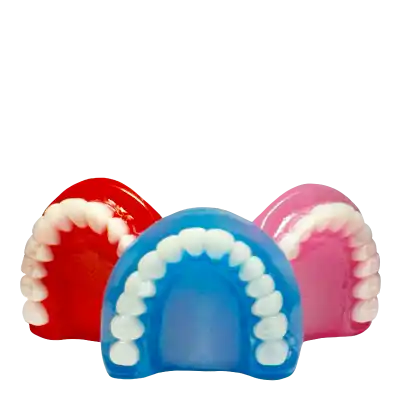
Once they’ve made their tongue, you can ask them to look in a mirror and try to make their own tongue match the shape of the dough tongue. You can provide verbal prompts such as “make your tongue tight” and “Keep the back sides of your tongue up” while you practice. You can also place the dough tongue in a plastic mouth model to assist in showing placement.
Make it extra fun with TONGUE DOUGH!
I have a recipe for a special play dough that I call TONGUE DOUGH! This tongue dough is easy to make, smells great, and looks a lot like a real tongue. When I was working as a school-based speech-language pathologist, I would make this frequently for my students. Here’s the recipe. If you make it, I’d love for you to post a picture of your tongue and tag me on Instagram @thepeachiespeechie ! I always love seeing what other SLPs and students make. If you want a pretty, printable version of the recipe, just download it here.
Peachie Speechie’s Tongue Dough Recipe
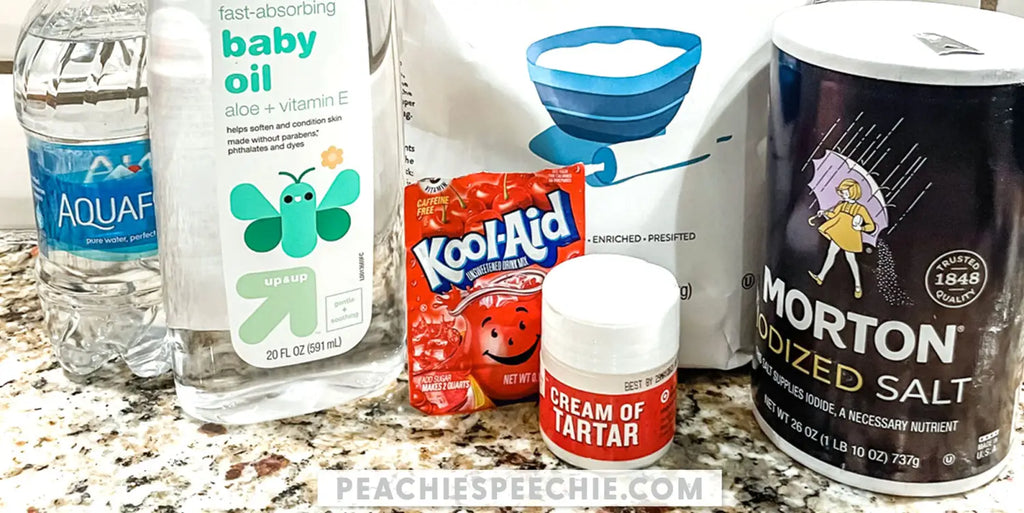
Ingredients:
- 1 cup all purpose white flour
- 1/2 cup salt
- 2 tsp. cream of tartar
- 2 packets of unsweetened KoolAid (red/cherry)
- 1 cup water
- 1 tablespoon clear baby oil*
Directions:
- Mix dry ingredients in a bowl.
- Put baby oil and water in a pot on the stove and turn heat on medium-low.
- Add dry ingredients to the water on the stove and stir.
- Keep stirring until a dough ball forms.
- As soon as a dough ball forms, take the pot off the heat and keep mixing. I folded it with a spatula at this point.
- Let cool for a few minutes. Once it is cool enough to handle, squish and knead it with your hands to get out any little bumps. Keep kneading until it’s nice and smooth.
*Important note: If you think your students might eat the tongue dough, use vegetable oil instead of baby oil.
How to make hard, reusable tongue models
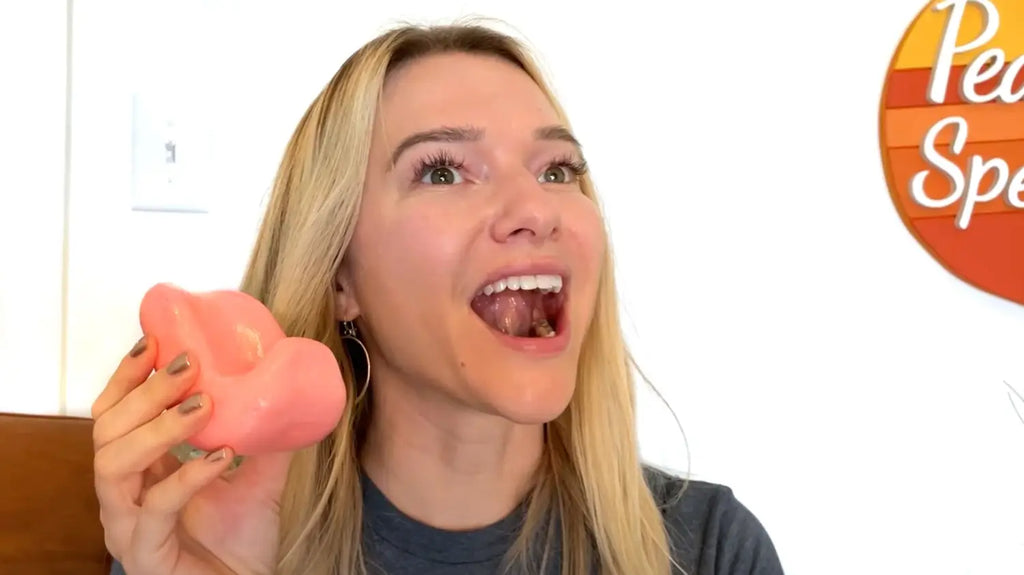
While I typically use soft tongue dough with my students to show movement, I have also created firm, reusable “tongue models” to go with my mouth models. I used Model Magic clay, which dries and hardens, keeping its shape. Then, I painted the tongue models pink and added a light coat of Modge Podge. The result was these lovely tongues that I can pull out as visuals anytime! Students can feel the tongue shape without worrying about squishing it or messing it up. I also hold them up to my mouth when I’m teaching the sound to make it easier for them to visualize what’s happening with my tongue.
More resources for the R sound
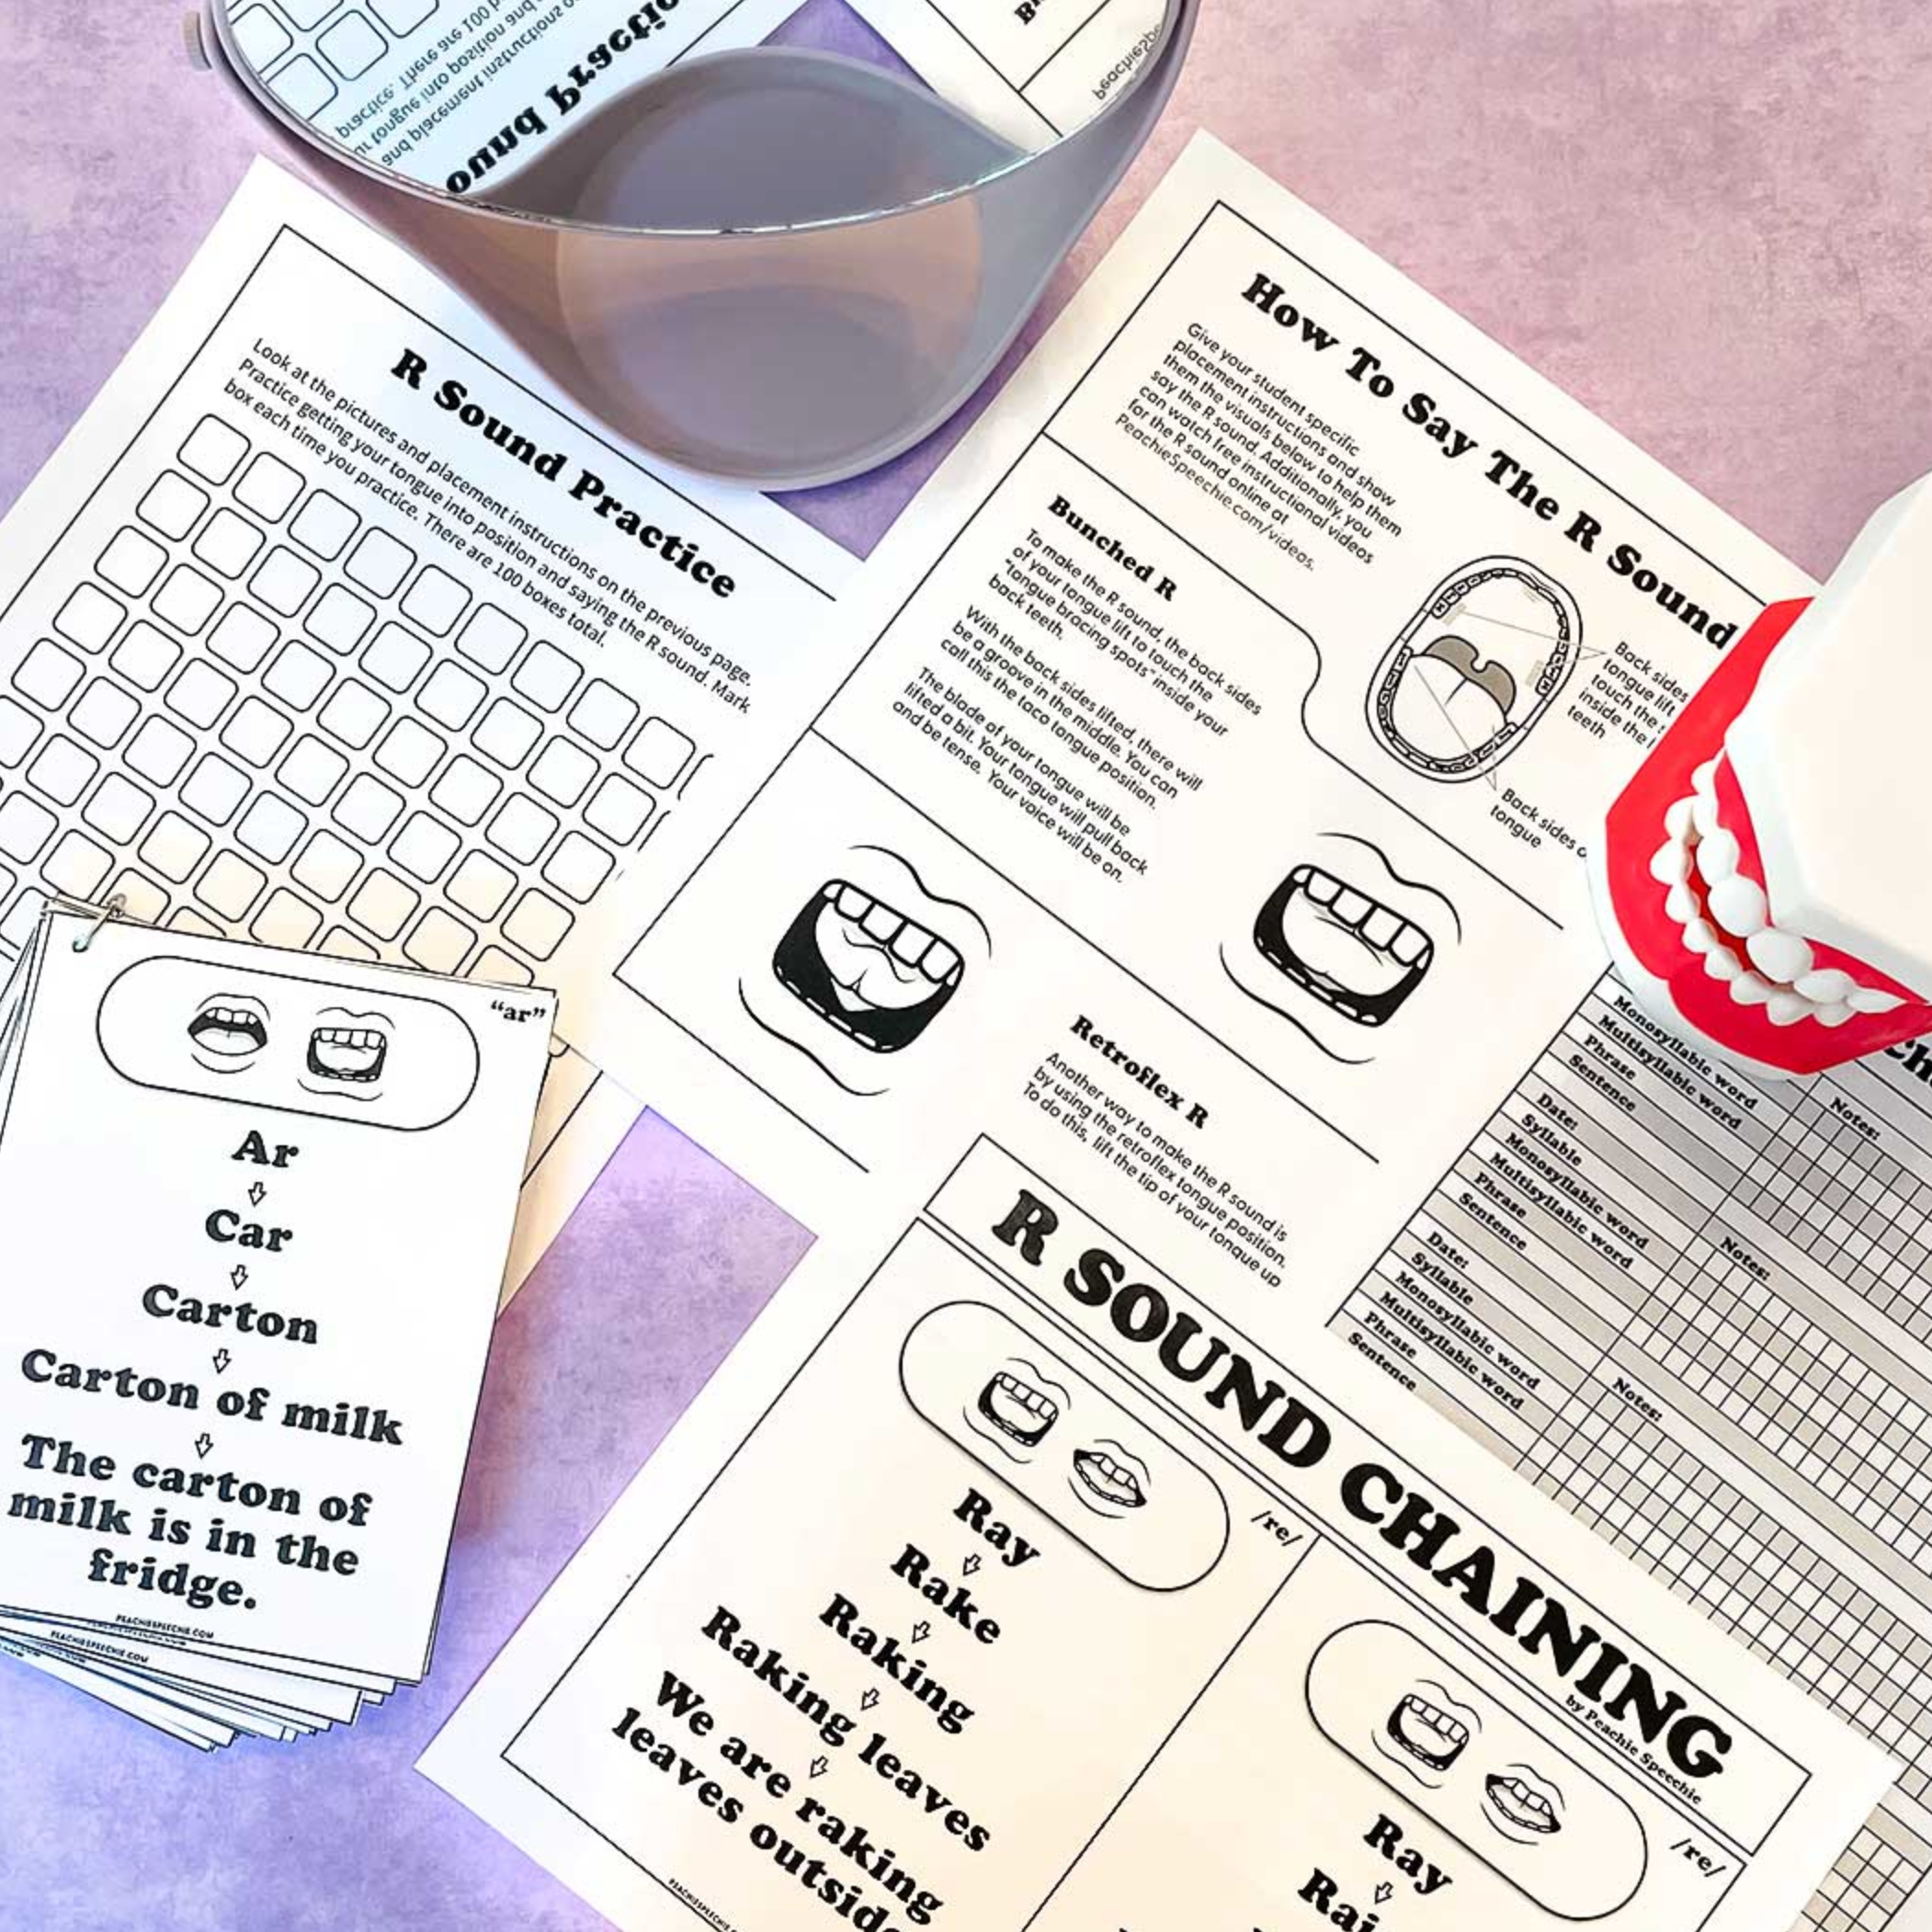
If you’re looking for even more resources to help you teach the R sound, I’ve got you covered! I have a FREE R Sound Toolkit you can download here. This toolkit gives you some basic visuals and tips for teaching R. It’s a great starting point for SLPs. I also have my step-by-step workbook titled I Can Say the R Sound. This book is packed with worksheets, activities and instructions for saying a clear, crisp R. You can watch all of my free R Sound videos on YouTube. Be sure to subscribe to my channel here!
❤︎ Meredith
Thanks for reading the Peachie Speechie blog! Subscribe to our newsletter at the bottom of the page so we can keep in touch. 💌
