


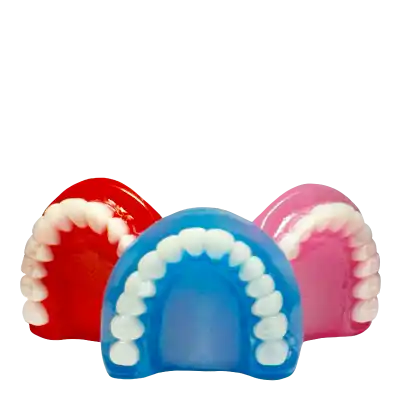


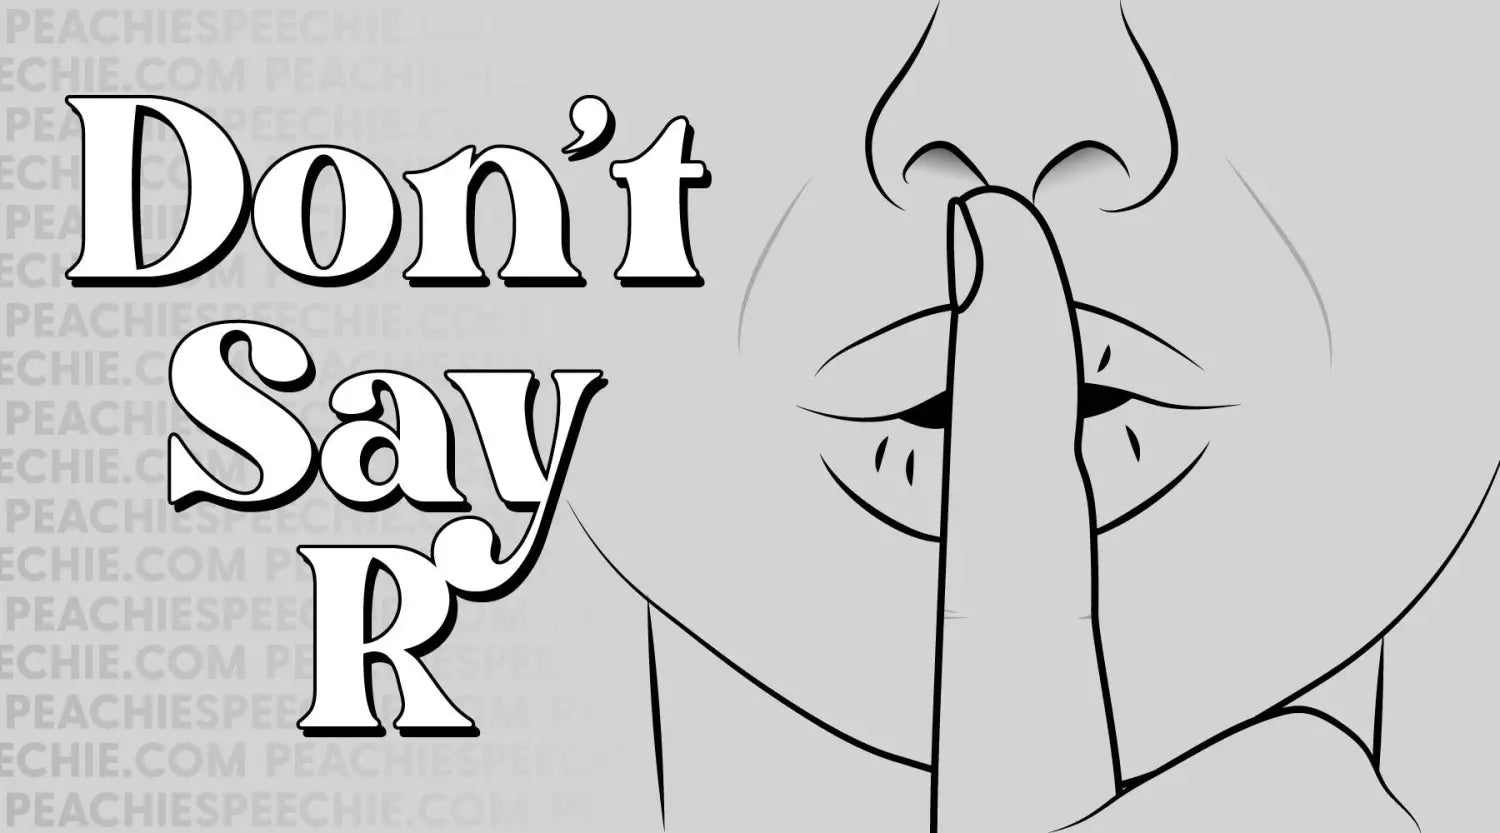
Don’t Say R!
reframe the sound
When a child has been producing an error sound for years, they have an idea in their head about how a sound is produced. Their production has become habitual. So, when you tell them, “Say the R sound!” they might automatically say, “uhh” or /w/ instead - even if you know they are capable of accurate production. So what can be done to make this easier for the child and the clinician? Reframe the sound.
Reframing is the practice of shifting your thoughts about something, to see something from a different perspective. We can apply that to speech therapy by changing how our students think about a sound. Instead of telling them “We are going to say the R sound”, we can reframe the activity to “We are going to make the tight sound” or “We are going to make the wide tongue sound” or “We are going to make the taco tongue sound”. By thinking of the sound a different way, our students might have an easier time producing it accurately. We rename to reframe!
I’ve done this for years, particularly when a child is lateralizing the /s/ sound. I’ve always said “Let’s practice the Stretchy T” to help them achieve forward airflow. I’ve got a video about Stretchy T you can watch here. The whole video features reframing, and only at the end do I reveal that Stretchy T is actually an S.
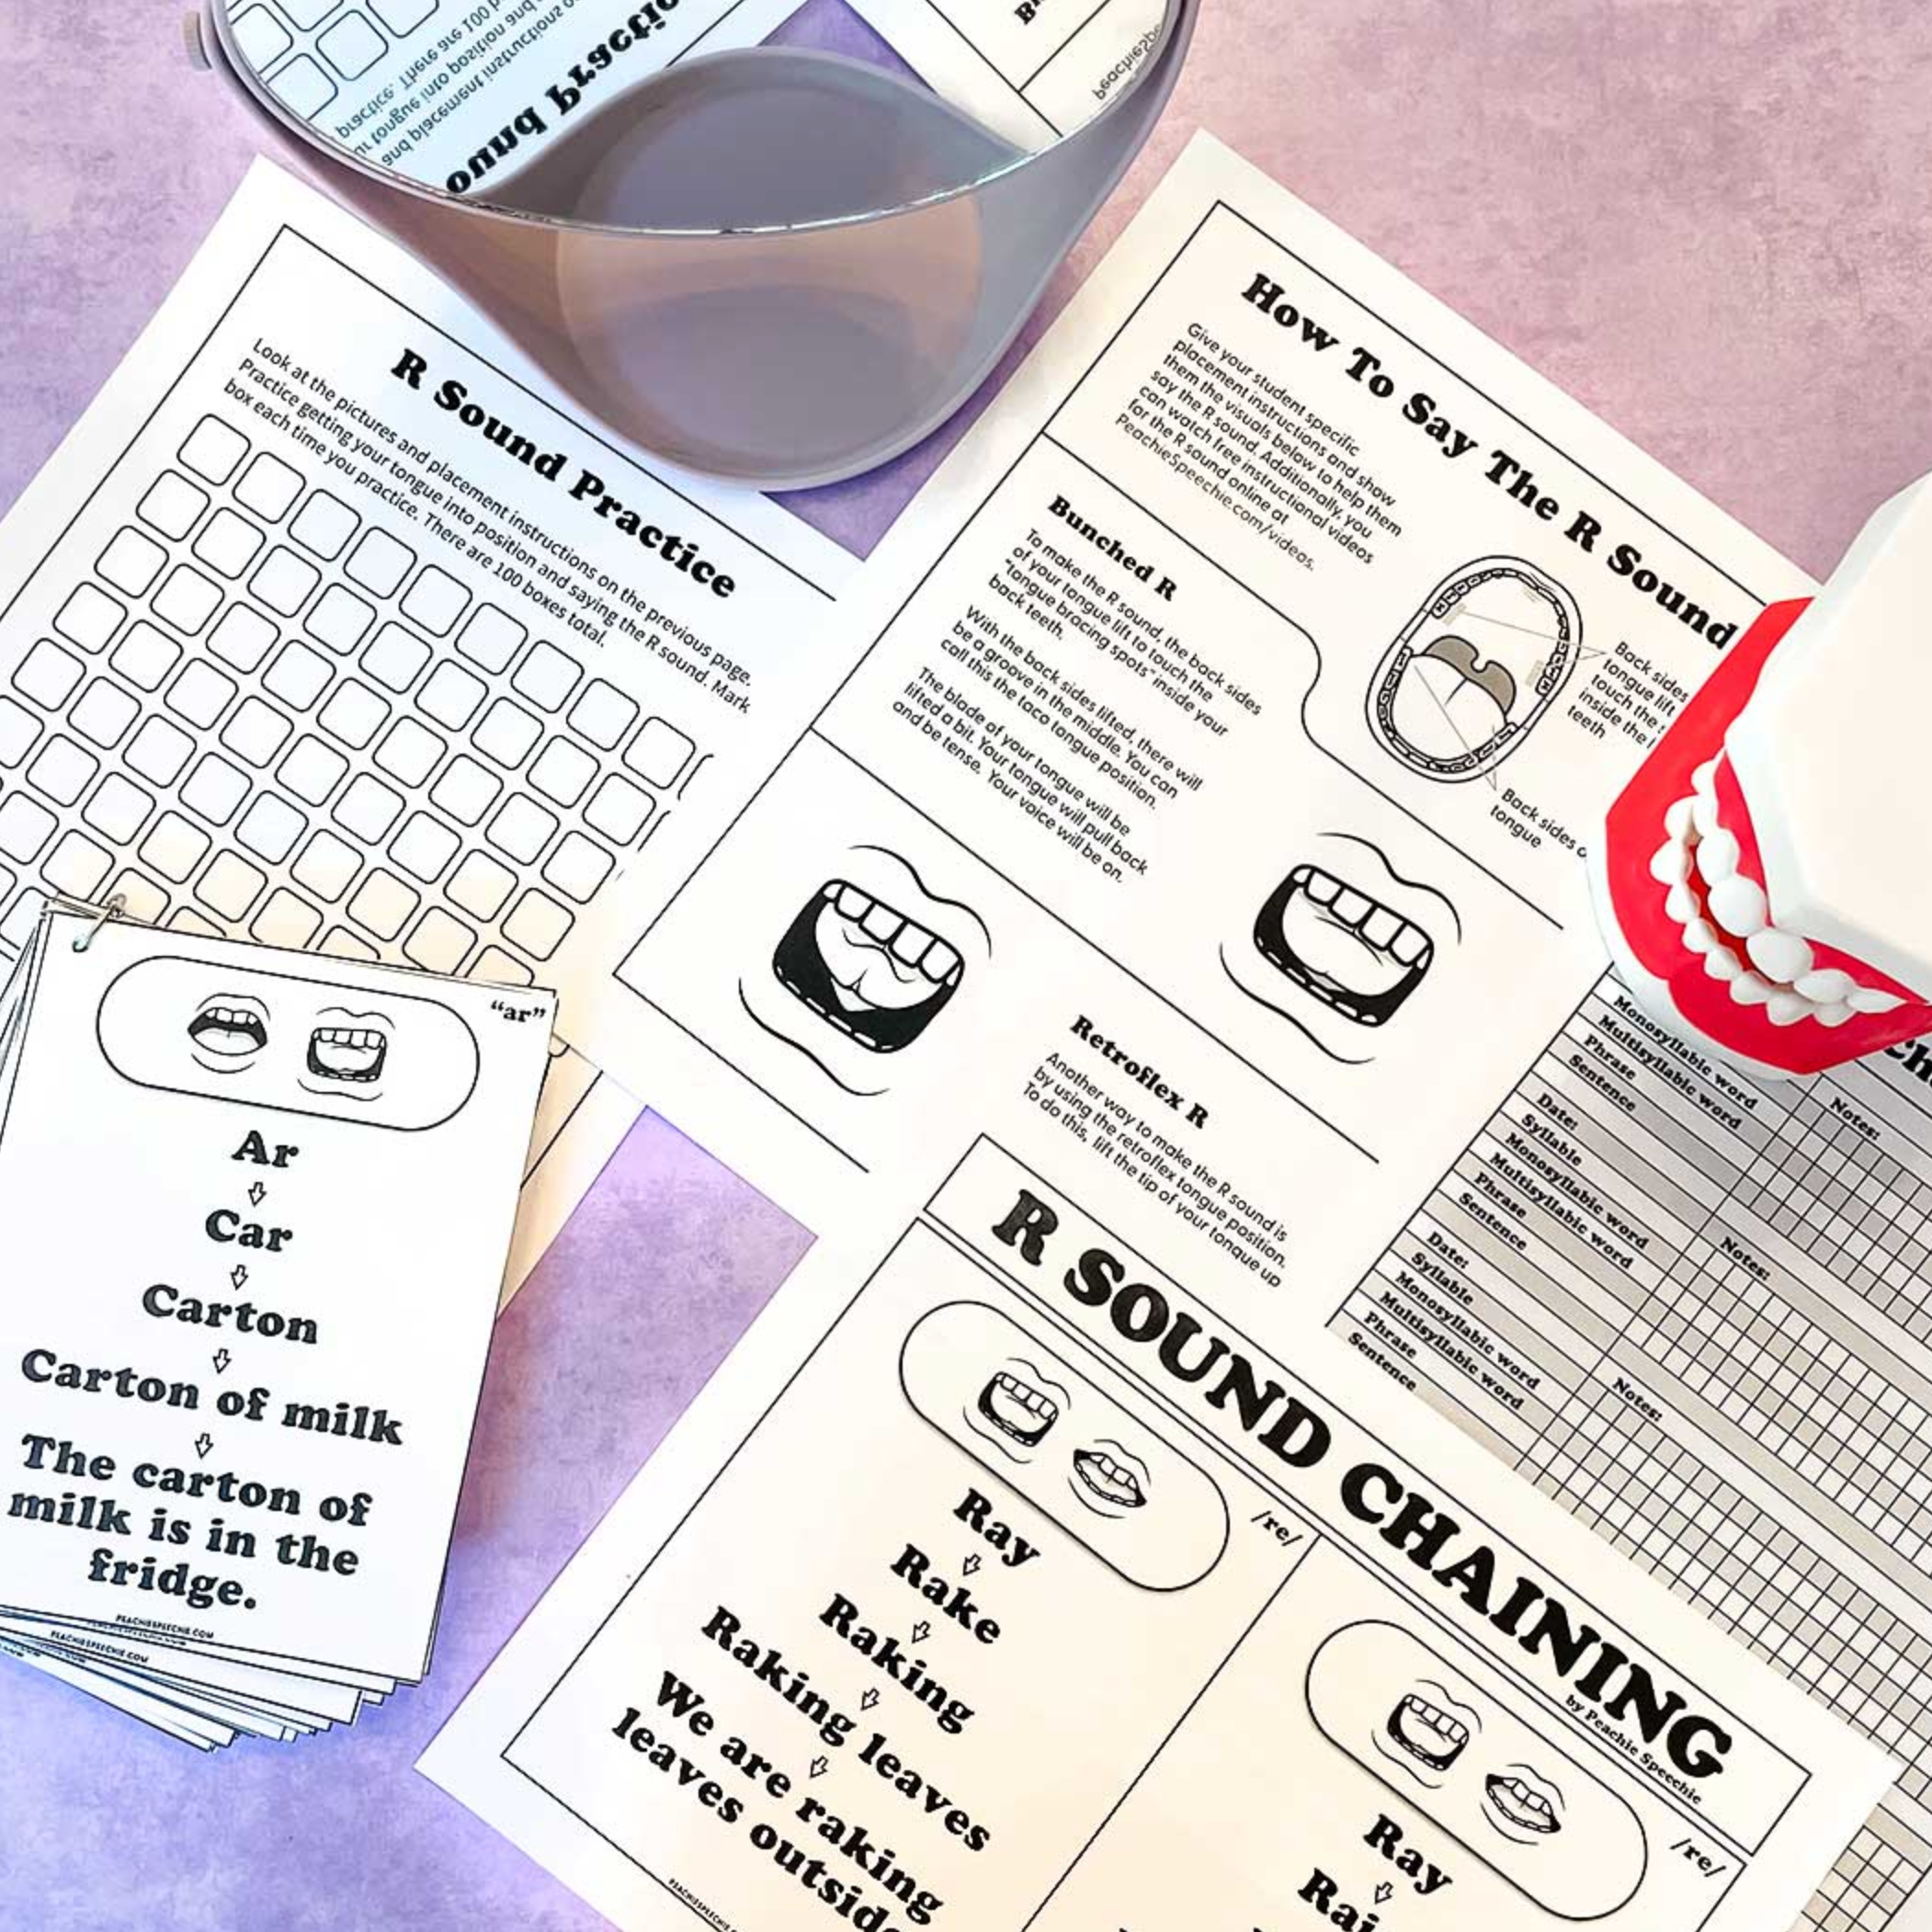
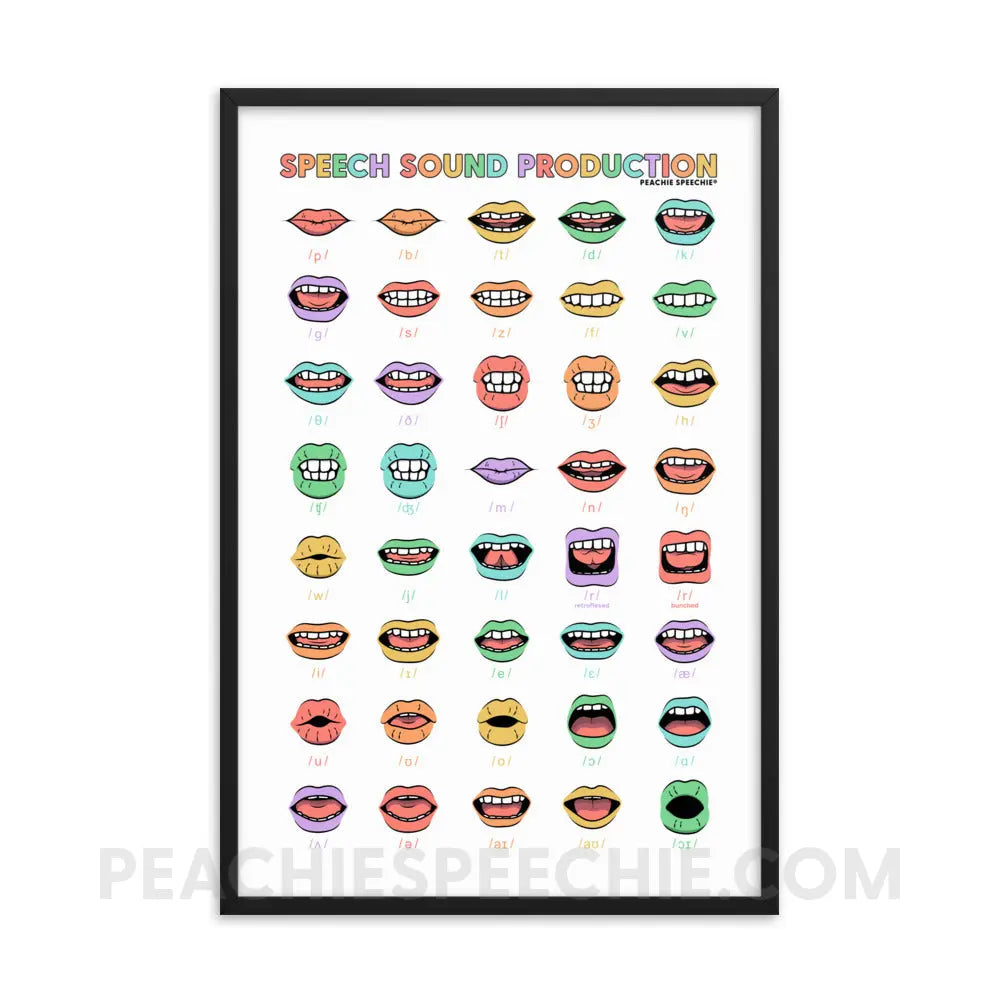
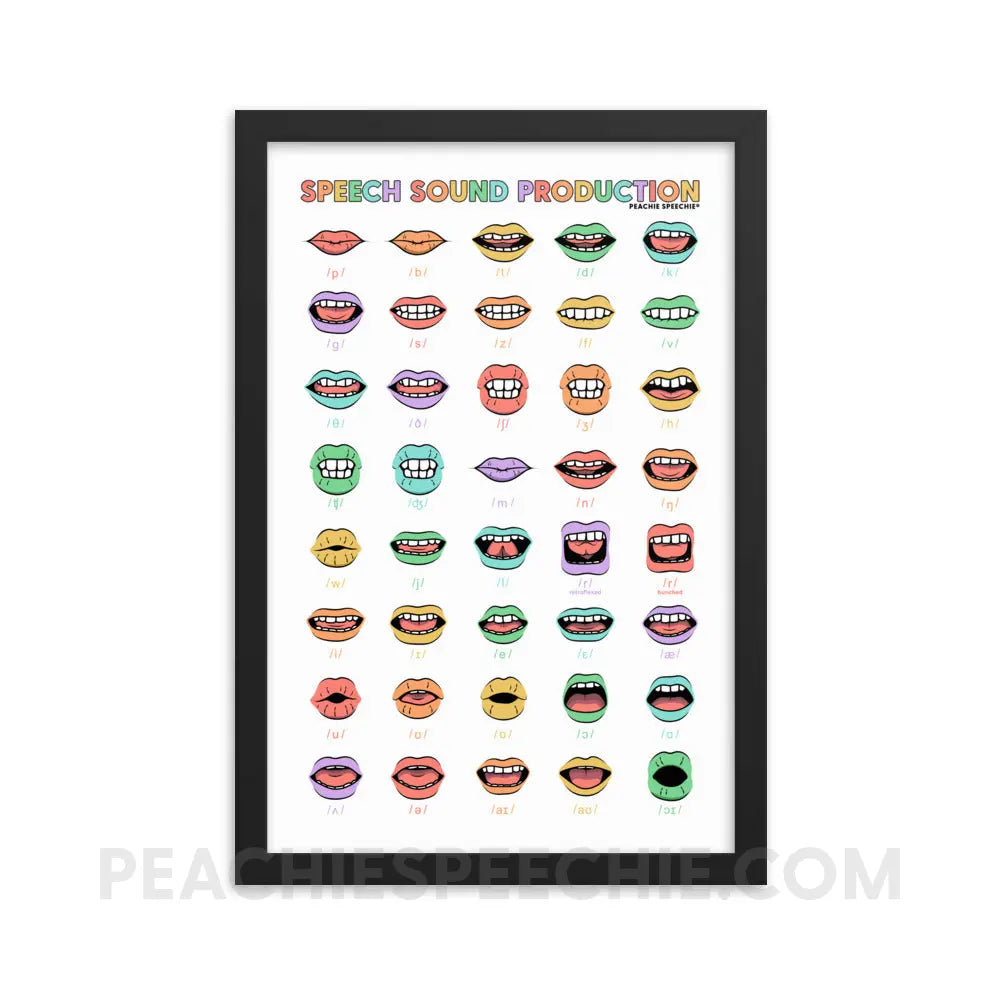
So how do we do this for the R sound? First, decide what you’re going to call the R sound. For bunched R, I like saying the Wide Tongue Sound, Strong Sound, Hiding Turtle Sound, Jelly Bean Sound or the Taco Tongue Sound. For retroflex R, I like saying the Sliding Sound, the Backward Sound or the Curly L Sound.
Tell your student something like “Today we aren’t going to work on the R sound. We are going to work on a new sound called _______.” Then, give specific placement instructions for the R sound. Be careful not to mention “R” at all during this time. Here are some examples of what you might say instead:
Lift the back sides of your tongue up. Touch the insides of your back teeth. With the sides up there will be a groove down the center. Like a taco shell for your taco sound!
With the sides of your tongue up, press them out against the insides of your back teeth. Make your tongue wide for your wide sound.
Slide your tongue tip back. Sliding and curling back with your voice on for your sliding sound.
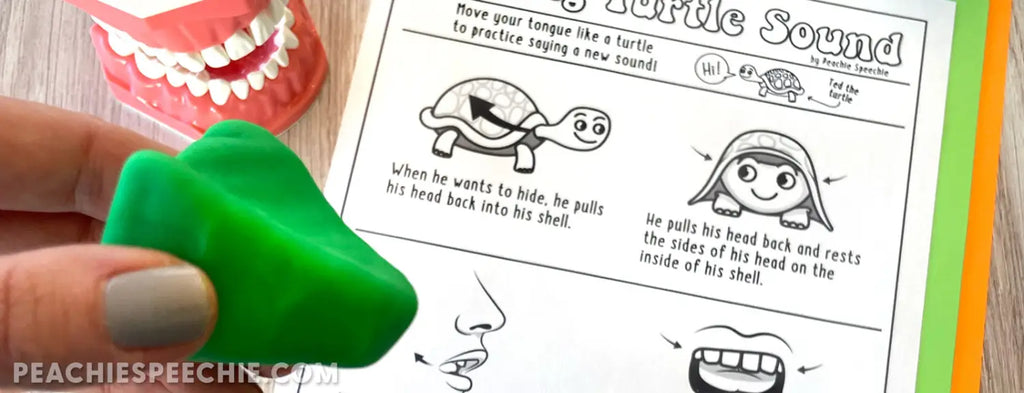
Pull your tongue back in your mouth like a turtle pulls his head into his shell. When it’s back there, make it tight and turn on your voice for the hiding turtle sound.
The child is now focusing on the directions for their new sound and not thinking about the old way they used to say R.
Practice this “new sound” a bunch. I typically practice in isolation or syllables for a couple sessions until my student is pretty confident with it. Practice it until it becomes more natural and automatic to them.
Then you can say, “Let’s make some words using that turtle sound and see what it sounds like.” Then, you can comment, “Hmmm, our hiding turtle sound is pretty similar to the R sound isn’t it? It looks like you CAN say the R sound!”
Reframing might not be necessary for every student. I have over a decade of experience teaching R to little ones and most of them were able to achieve R without reframing. However, for the ones who were frustrated, discouraged, or just needed a fresh perspective, this has been an extremely effective and useful method.
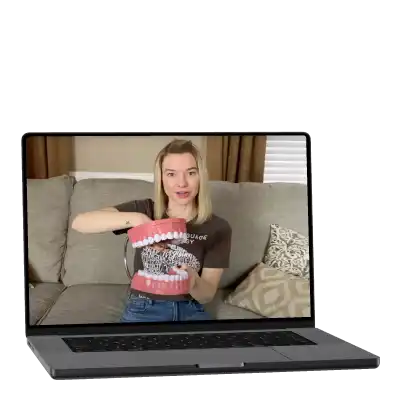
Be sure to watch my video about reframing the R sound and subscribe to my YouTube channel for more tips and information about R and other speech sounds. Also be sure to follow me on Instagram @thepeachiespeechie for daily SLP stuff.
Xoxo,
Meredith
Thanks for reading the Peachie Speechie blog! Subscribe to our newsletter at the bottom of the page so we can keep in touch. 💌


